
Introduction
Maintaining and replacing components can be a cost-effective endeavor. If you need to replace a front headlight dome on a 2013 Lexus is250, this manageable task can be done with a few steps and a bit of patience. This guide will walk you through a step-by-step process to ensure the replacement goes quickly. Before you get started, ensure you have the proper tools and the replacement ready.
-
-
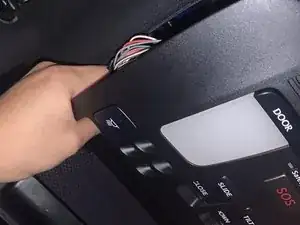
Open the glasses compartment located near the front dome light. This is usually a straightforward latch or button release.
-
-
-
Locate two housings inisde the compartment and gently pry them open using a flathead screwdriver. Take care not to damage the surrounding plastic.
-
-
-
Utilize a star screwdriver to remove the screws holding the front dome light in place. Ensure a steady hand to prevent any accidental dropping of screws.
-
-
-
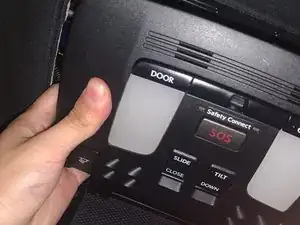
With both hands wiggle both sides of the dome. Apply a bit of force at the top to release it from its position. Be cautious to not break the plastic clips securing it.
-
-
-
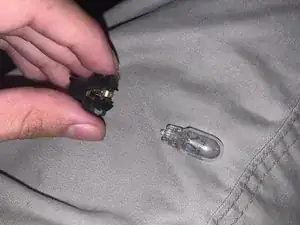
Confirm that the bulbs are functioning by checking if the lights turn on. If not double check the alignment of the bulbs to ensure proper contact.
-
Carefully place the dome back into its original position. Ensure it aligns correctly with the plastic tips. Apply gentle pressure until it clicks back into place.
-


To reassemble your device, follow these instructions in reverse order.