Introduction
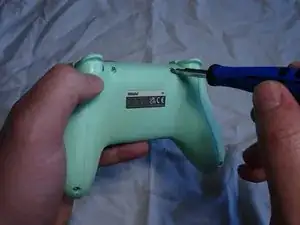
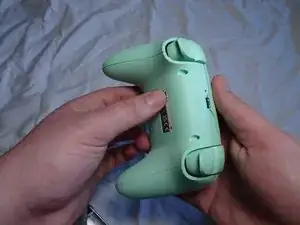
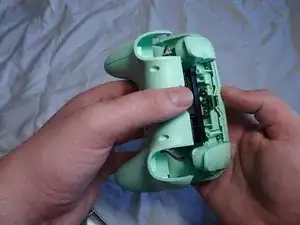
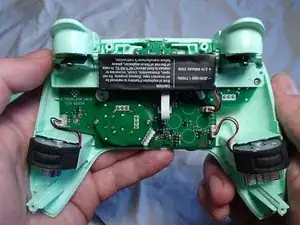
A common issue with gaming controllers is the deterioration of the internal battery. Whether it's due to the passing of time or internal damage, there's no doubt that a faulty battery can contribute to an unenjoyable gaming experience. Our guide aims to tackle this issue by offering a comprehensive solution. Our step-by-step approach will guide users through the process of replacing an 8bitDo Ultimate C 2.4g Wireless controller battery, providing them with the knowledge to perform the replacement by themselves.
Tools
Parts
-
-
Insert a Jimmy into the crevice of one of the controller's bottom grips and use it to follow the lining of the crevice around the whole controller.
-
-
-
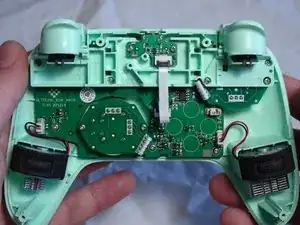
Gently grab the white plastic front of the wire that is connected to the motherboard to detach it from its plug.
-
-
-
Apply the iFixit stretch release adhesive to the back of the replacement battery and place the new battery in the same spot as the old one.
-
Make sure to plug in the new battery's wire into the controller's motherboard.
-
To reassemble your device, follow these instructions in reverse order.
2 comments
Where did you boght the battery replacement? I'm trying to find it on the internet but no clues yet
Hi, where can I get the new battery for replacement?


