
Introduction
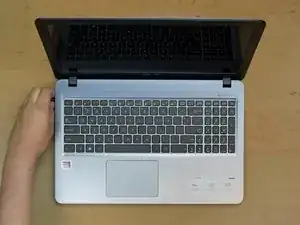
Use this guide to replace a cracked or malfunctioning display screen of your ASUS laptop. This guide is for model: X540BA-BB61-CB
This guide will have you work with sensitive electronics, so before you start, make sure you have an Electrostatic Discharge wrist strap, as this prevents electronic damage. If you don't have one, you can order one from the parts list in this guide!
-
-
Use a spudger to remove the plastic screw covers in the bottom right and left corner of the screen.
-
Remove the two Phillips #2 (M2.5 x4)mm flat head screws in the two bottom corners under the screw covers.
-
Then remove the bezel frame with a spudger.
-
-
-
Once these screws are removed, carefully remove the bezel by the inner edge working your way around the perimeter.
-
-
-
Remove the grounding tape covering the screws in the four corners of the screen.
-
Use a Phillips #2 screwdriver to remove four (M2 x 4) mm screws from the four corners of the screen that hold the LCD panel in place.
-
-
-
Peel off one side of the tape and remove the two bottom screws.
-
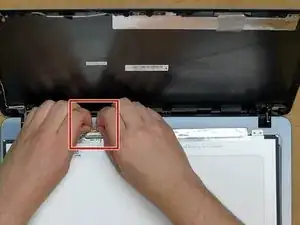
Peel off the tape, gently slide the cable out and remove the LCD Panel. Take the new LCD panel and place it on the keyboard.
-


To reassemble your device, follow these instructions in reverse order.
