
Introduction
This guide will walk you through the replacement process for the camera found within your Amazon Echo Show 10 3rd Gen device. Refer to microphone replacement guide as a prerequisite in order to get to the camera.
-
-
Insert a Jimmy along the seam of the screen and the shell and slide it along the length to separate the two sides.
-
-
-
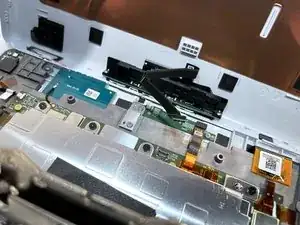
Hold the display away from the board at an angle to ensure a clear view while keeping the ribbon cable slack.
-
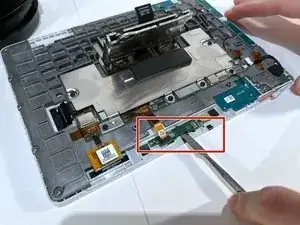
Place the tip of your opening tool under the edge of the display connector, and pry the connector straight up from its socket.
-
Set aside the display.
-
-
-
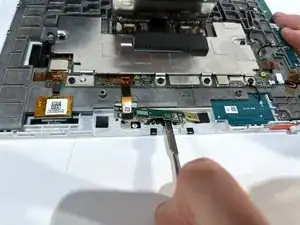
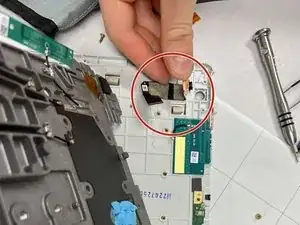
Place the tip of your opening tool under the edge of the orange connector, and pry it straight up from its socket.
-
-
-
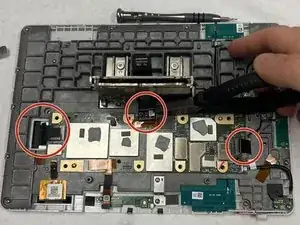
Use the T5 Torx screwdriver to remove the two 4 mm screws from the bracket covering the microphone board and the one 4 mm screw holding down the board itself.
-
-
-
Use a spudger to pry under the microphone board. and gently wear away at the connecting glue.
-
After the adhesive seal has been broken, gently lift and remove the microphone board.
-
-
-
Take off gray backing layer and any PCBs that are now unscrewed. You now have access to camera.
-


To reassemble your device, follow these instructions in reverse order.