Introduction
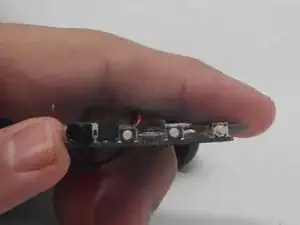
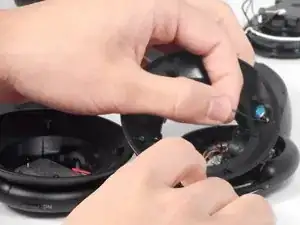
This guide will show you how to replace the buttons on the Anker Soundcore Life Q30 headphones. There is a volume down button, a volume up button, and a mute button on the right side, and the power button and noise cancelling button on the left side. This guide will cover a general process for opening up the device and replacing the buttons, starting with the left side. Replacing these buttons will require you to solder their replacements onto the circuit board. Before you begin, make sure to turn off the headphones and unplug them from their charger.
Tools
-
-
Orient the headphones such that the headphone speakers are closest to you, and the headband is furthest from you.
-
Adjust the folding hinge to where the speakers are facing up.
-
Make sure you can easily reach the edge where the cushion connects to the rest of the headphones.
-
-
-
Using one hand, hold the right side of the headphones still.
-
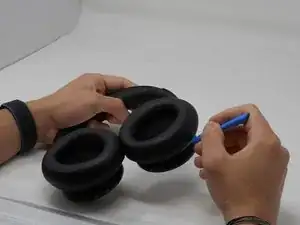
Using your other hand, slide the plastic opening tool in the edge along the cushion.
-
Gently pry the cushion off using the plastic opening tool.
-
Set the right ear cushion aside and repeat this step for the left side of the headphones.
-
-
-
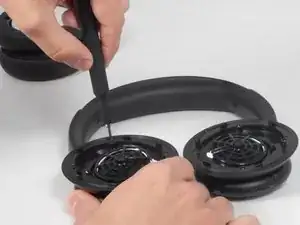
Remove the four 5.7 mm screws from the headphone driver using a Phillips #00 screwdriver.
-
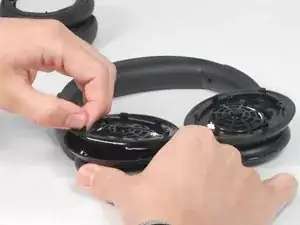
Pull the headphone driver apart from the headphones.
-
-
-
Lift the drivers out of the headphones.
-
Remove the wires from the circuit board that connect the drivers.
-
-
-
Pull the microphone (circular blue part) from its socket by the connected red wire that is covered in black rubber.
-
Unscrew the four 5.7 mm screws with a Phillips #00 screwdriver connecting the earcup to the headphone’s frame.
-
Remove the earcup.
-
-
-
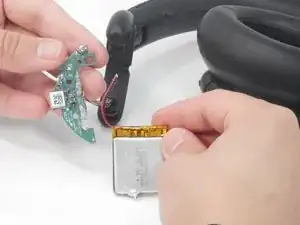
Unscrew the 5.7mm screw with a Phillips #00 screwdriver within the green circuit board connected to the battery.
-
Carefully pry the green circuit board and battery off of the earcup.
-
-
-
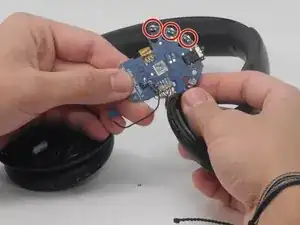
After the circuit boards can be accessed, you will need to desolder the button you are trying to replace from it. This guide will be using the right side of the headphones as an example, but the process will be the same for the buttons on the left side. This link will take you to a guide on soldering.
-
You can now solder your replacement button into place. Take care that you orient the button correctly so that it matches the position of the external part of the button.
-
To reassemble your device, follow these instructions in reverse order.
