Introduction
There are two kinds of replacement slides: ball bearing and roller slides. The ball-bearing slides are the most frequent, whereas the roller slides are utilized for heavier drawers. I shall utilize ball-bearing drops in this tutorial since they are quiet and smooth. Although drawer slides are meant to be sturdy and last a lifetime, it may be essential to replace them on sometimes. With this article, I will demonstrate the simplest method to repair your drawer slides if they get worn or if the weight of the drawer prevents it from functioning effectively.
-
-
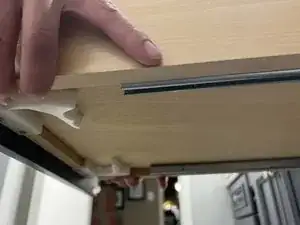
Before starting, remove the existing sliders and brackets by unscrewing the screws in a counterclockwise direction.
-
-
-
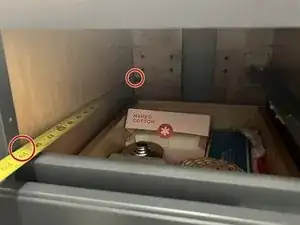
Measurements are crucial to starting when inserting a new drawer slide replacement.
-
Be sure to measure the inside of the drawer with a measuring tape to see its distance on how long the drawer slide must be.
-
-
-
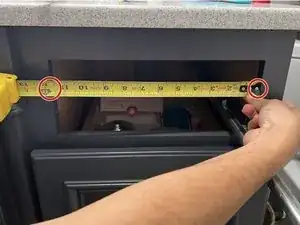
Another critical measurement is the width of which the drawer must be fit. Make sure your measurements are correct with the width needed for the drawer.
-
-
-
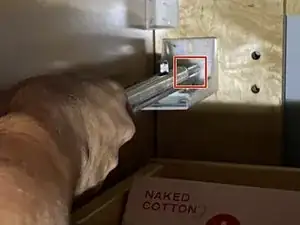
Now it is time to insert the drawer insert inside; ensure that the holes align with the insert, and be very cautious with the screw and screwdriver.
-
-
-
This step requires your screwdriver, which is needed to insert the screw into the hole when inserting the drawer slide. Ensure the screw is tight and secure before inserting it into the drawer wall.
-
-
-
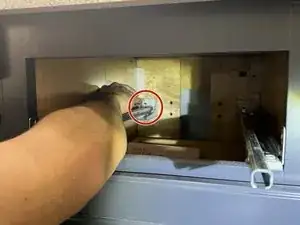
As soon as the correct measurements and screw are inserted into the drawer slide, it is time to insert the drawer slide with the screw.
-
Be very cautious, and do not rush this step. Turn the screwdriver in a clockwise direction to tighten the screw.
-
-
-
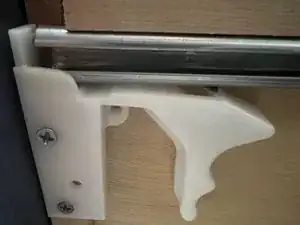
Now that the drawer slide is inserted, it is time to insert the drawer slide supporter that is needed for the drawers not to get scratched and damaged. This step requires a screwdriver.
-
-
-
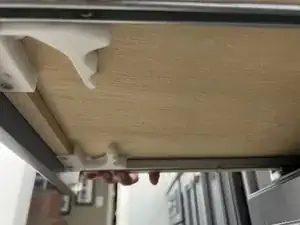
It is time to insert the drawer, be very cautious with this step, and be sure not to damage it. Insert it slowly by latching it upon the drawer slide and pushing forward for the drawer to slide in.
-
-
-
When the drawer is inside the drawer slide insert, use the clamps to secure the drawer, so the drawer will not latch out and fall out of the drawer slide.
-
-
-
As soon as all steps are complete, it is now time to push in your drawer; with no damage to the cabinets, the drawer will slide in easily.
-


Enjoy your new drawer!