Introduction
Prereq for disconnecting the battery. Also includes the appropriate capacitor discharge warnings.
Tools
-
-
If you have any film left, take some photos and remove the cartridge! Disassembly will expose the film and damage it.
-
Before you begin:
-
Power down and unplug your camera.
-
Put on the lens cap to avoid scratching your lens during disassembly.
-
-
-
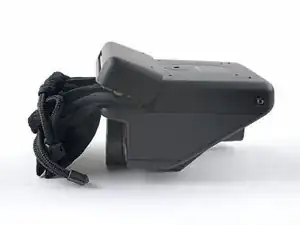
Fold a piece of cloth or napkin (or the included bag) into a small square.
-
Insert the cloth into the film compartment far enough to block the film door from closing during disassembly.
-
-
-
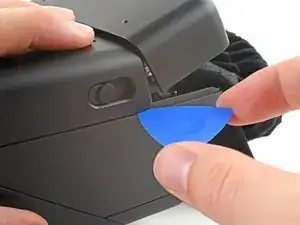
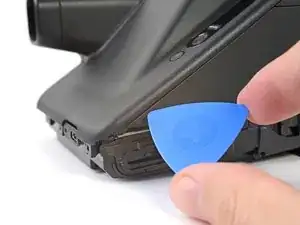
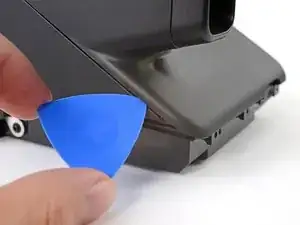
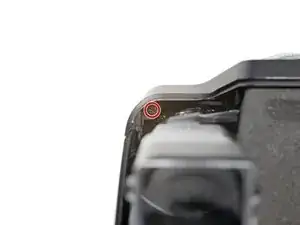
Insert the tip of an opening pick under the top left corner of the bottom cover, near the slider button.
-
Tilt the pick up and push to position the pick between the bottom and front covers.
-
-
-
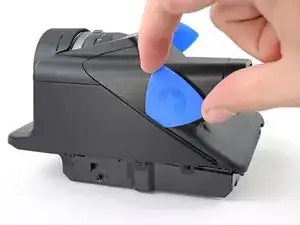
Slide the opening pick toward the rear of the camera to release the clips along the left edge.
-
Leave the opening pick at the bottom left corner to prevent the clips from resecuring.
-
-
-
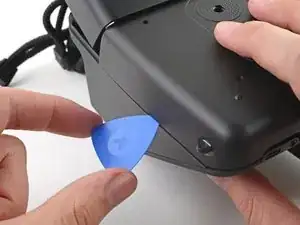
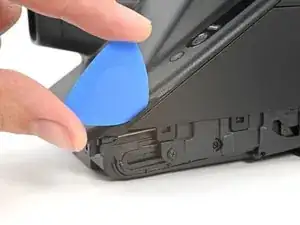
Insert the tip of a second opening pick under the top right corner of the bottom cover.
-
Tilt the pick up and push to position the pick between the bottom and front covers.
-
-
-
Slide the opening pick toward the rear of the camera to release the clips along the right edge.
-
-
-
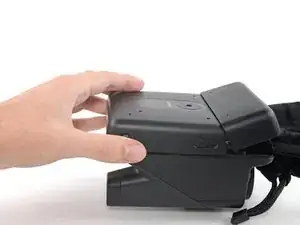
Tilt the back of the bottom cover upward and pull it away from the camera, making sure to thread the film door lever from its recess.
-
Remove the back cover.
-
-
-
Insert a spudger between the frame and the alignment hole on the back cover.
-
Twist the spudger to lift the back cover off of the alignment peg.
-
Repeat for the second alignment peg.
-
-
-
There are eight large clips that secure the back cover. The next four steps show how to release them.
-
-
-
Angle an opening pick upward and insert it at the gap where the bottom right corner of the back cover meets the triangular tip of the front cover’s right edge.
-
Push the pick up to get it above the overhanging lip in the back cover.
-
While pushing upward, slowly rotate the pick towards the left edge of the camera until it's under the front cover.
-
-
-
While pushing the pick downward, slide it all the way up the right edge to release the clips.
-
Leave the pick at the top corner before continuing to prevent the clips from resecuring.
-
-
-
Angle a second opening pick upward and insert it at the gap where the bottom left corner of the back cover meets the triangular tip of the front cover’s left edge.
-
Push the pick up to get it above the overhanging lip in the back cover.
-
While pushing upward, slowly rotate the pick towards the right edge of the camera until it's under the front cover.
-
-
-
While pushing the pick downward, slide it all the way up the left edge to release the remaining clips.
-
-
-
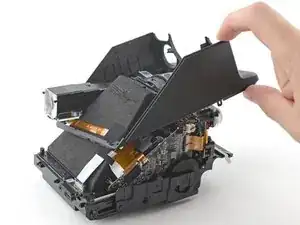
Pull the back cover off the camera and rotate it over the right edge to expose the flex cable.
-
-
-
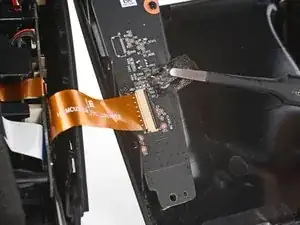
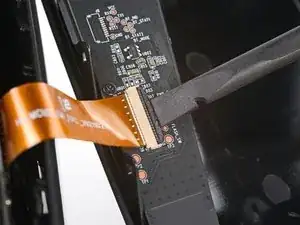
Use the flat end of a spudger to lift up the locking flap on the control board ZIF connector.
-
-
-
Use tweezers to pull the interconnect cable out of its slot in the control board.
-
Remove the back cover.
-
-
-
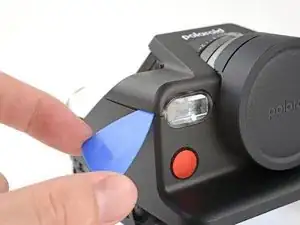
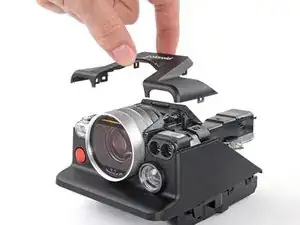
Angle an opening pick upward and insert in the gap at the top right corner of the top cover and front cover, next to the flash.
-
-
-
Slide the opening pick toward the rear of the camera to release the clips along the right edge.
-
Leave the pick in the gap before continuing to prevent the clips from re‑engaging.
-
-
-
Angle a second opening pick upward and insert in the gap at the top left corner of the top cover and front cover.
-
-
-
Slide the opening pick toward the rear of the camera to release the clips along the left edge.
-
Leave the pick in the gap before continuing to prevent the clips from re-engaging.
-
-
-
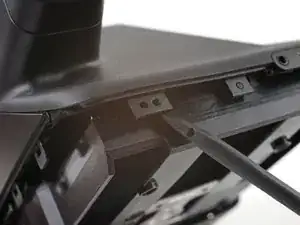
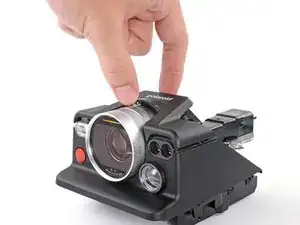
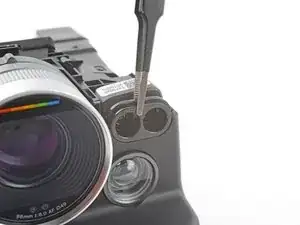
Insert the flat end of a spudger between the frame and the top cover's left external clip, above the viewfinder.
-
Twist the spudger to release the clip.
-
-
-
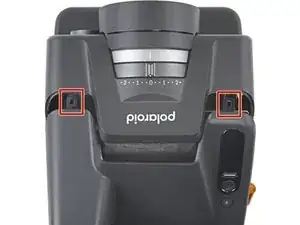
Insert the tip of an opening pick between the frame and the top cover's right external clip.
-
Pry up to release the clip.
-
-
-
Use a Phillips screwdriver to remove the four screws securing the front cover:
-
Two 5.9 mm-long screws along the back edge of the front cover
-
Flip your camera over.
-
Two 3.9 mm-long screws under the front of the camera
-
-
-
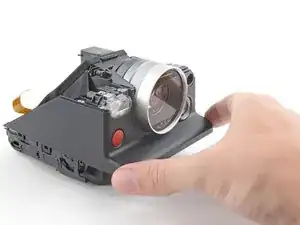
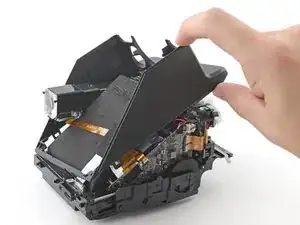
Pull the front cover away from the lens to release the clips along the front edge and slide the viewfinder out of its cutout.
-
-
-
Lift the rear of the front cover while pulling the entire cover toward the front of the camera to separate it from its lip under the lens.
-
-
-
Lift the front of the cover over the lens.
-
Slide the front cover toward the rear of the camera until the back edge clears the viewfinder.
-
-
-
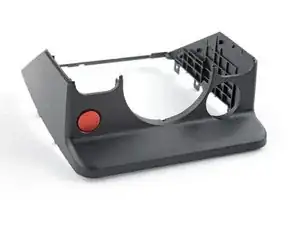
Remove the front cover.
-
If you're disassembling further, put the lens cover back on to prevent scratching the lens.
-
-
-
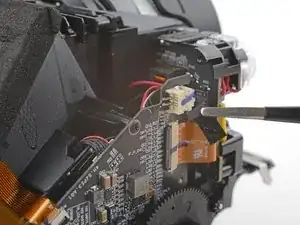
The battery connector is located on the inside of the main board.
-
Insert the tip of a spudger under the head of the battery connector, where the cables meet the head itself.
-
Pry up to disconnect the battery.
-
To reassemble your device, follow these instructions in reverse order.


