Introduction
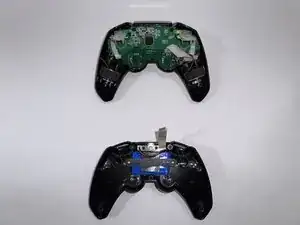
This guide describes how to remove broken or damaged buttons for the BEBONCOOL Wireless Switch Pro Controller.
The Beboncool Gamepad has many buttons that all operate in the same manner. A broken or malfunctioning button is rather easy to identify when not getting the correct response or no response at all when pressing the button in a game. Replacing the button will likely fix the issue.
Tools
-
-
Use a Phillips #0 screwdriver to remove the seven 5 mm screws from the back of the controller.
-
-
-
Use a Phillips #0 screwdriver to remove the two 5 mm screws holding the joystick motherboard in place.
-
-
-
Use a Phillips #0 screwdriver to remove the 5 mm screw holding the motherboard in place.
-
Remove the motherboard.
-
-
-
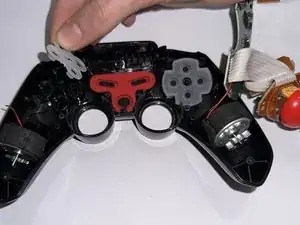
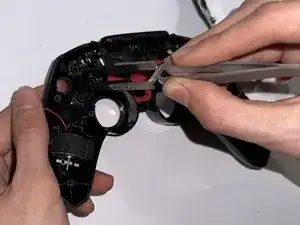
To remove the directional buttons, first remove the translucent silicone cover. Then, use tweezers or your fingers to remove the button pad.
-
To reassemble your device, follow these instructions in reverse order.


