Introduction
Use this guide to replace a malfunctioning image sensor in your EOS 6D.
-
-
Open the battery door on the bottom of the camera.
-
Use your thumb to slide the small black tab on the inside of the battery door up and pull the door off the camera.
-
-
-
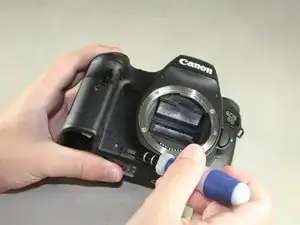
Slide your fingernail or the flat end of the spudger underneath the rubber covering and gently peel it off all sides of the camera.
-
-
-
Open the covers to the HDMI/AV/MIC ports on the side of the camera by gently pulling outward on the bottom of the covers.
-
Rotate the covers to the side so that you can see the connection ports inside.
-
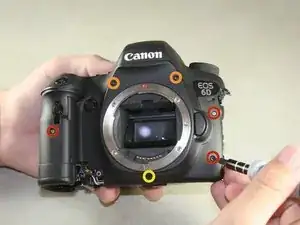
Remove the following screws:
-
Two silver 5mm Phillips #00
-
One black 6mm Phillips #00
-
-
-
Remove the cover to the HDMI/AV/MIC ports by gently lifting the tab on the bottom edge of the camera.
-
-
-
Rotate your camera so the bottom side is facing you.
-
Remove the following screws:
-
One 6mm Phillips #00
-
Two 3mm Phillips #00
-
-
-
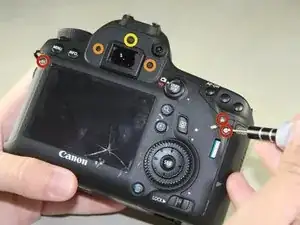
Rotate your camera so the back is facing you.
-
Remove the following screws:
-
Three silver 5mm Phillips #00
-
Two black 6mm Phillips #00
-
One black 4mm Phillips #00
-
-
-
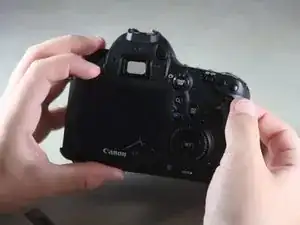
Carefully use your fingers to tilt the back panel downward to about a 90 degree angle.
-
Use the flat end of the spudger to gently pry off the ribbon wire from the inside of the camera.
-
-
-
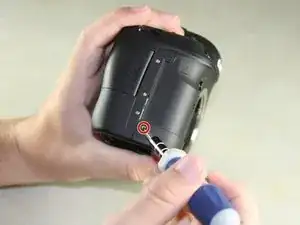
Rotate the camera so the side with the SD card slot is facing you.
-
Remove the 4mm Phillips #00 screw from the bottom edge of this side.
-
-
-
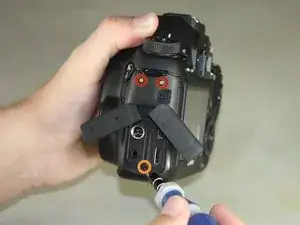
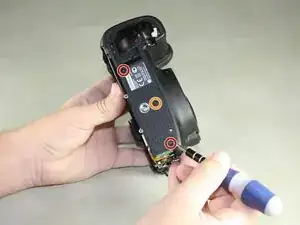
Rotate the camera so the bottom is facing you.
-
Remove the following screws:
-
Two 8mm Phillips #00
-
One 4mm Phillips #00
-
-
-
Remove the bottom panel from the camera by using your fingers to pull outward on the tab inside the battery compartment.
-
-
-
Rotate the camera so the front is facing you.
-
Remove the following screws:
-
Three 5mm Phillips #00
-
Two 6mm Phillips #00
-
One 4mm Phillips #00
-
-
-
Rotate the camera so the side with the SD card slot is facing you.
-
Remove the following screws:
-
One 4mm fine-thread Phillips #00
-
Two 4mm coarse-thread Phillips #00
-
-
-
Slowly fold the front panel to the right without pulling it away from the right edge of the camera.
-
-
-
Remove the 4mm Phillips #00 screw on the inside of the front panel to separate the panel from the speaker wire.
-
-
-
Remove the 4mm Phillips #00 screw from the inside of the top panel, below the shutter button.
-
-
-
Rotate the camera so the top is facing you.
-
Remove the 6mm Phillips #00 screw from next to the analog screen.
-
-
-
Rotate the camera so the back is facing you.
-
Remove the Phillips #00 screw from the viewfinder focus.
-
-
-
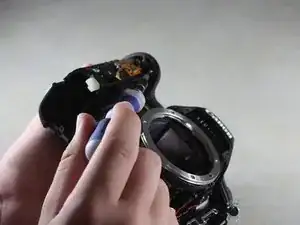
Slowly lift the top panel to about an inch above the body of the camera.
-
Carefully use the flat end of the spudger to detach the ribbon wire from the top of the camera.
-
-
-
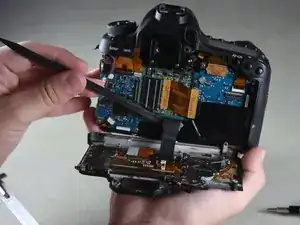
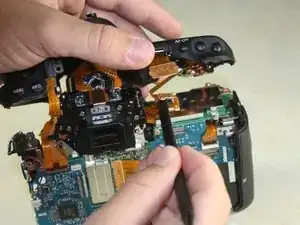
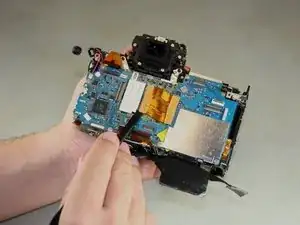
Use the pointed end of the spudger to carefully slide out the four light brown ribbon wires.
-
-
-
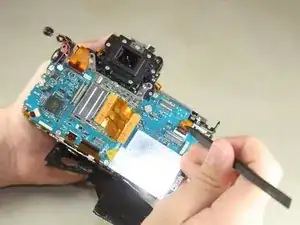
Use the flat end of the spudger to lift up on the large, light brown ribbon wire in the middle of the camera.
-
-
-
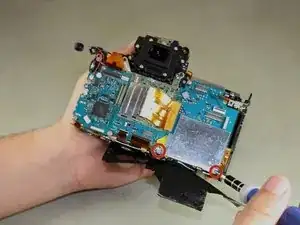
Slide the flat end of the spudger under the top of the large blue panel and carefully pry it off.
-
-
-
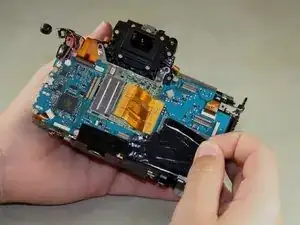
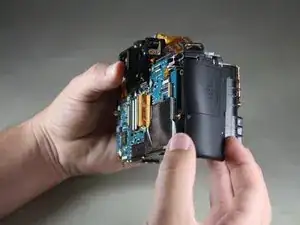
Use your fingers to grip the top of the image sensor and pull it slightly outward.
-
Lift the sensor out toward the top of the camera.
-


To reassemble your device, follow these instructions in reverse order.
8 comments
Hi, after replacement I've got strong fixed pattern noise. Any ideas what went wrong? Do i need somehow to calibrate it?
oh shi~ sensor placed on springs...it's be hard to calibrate focal plane at home
WARNING!!!!!
Removing the CMOS sensor, as shown above, will render your camera useless!! (no focus)
WHY?
This sensor (and many others) are very precisely tension-adjusted. It's called FBD or Flange-Back Distance. It's the distance between the lens mount surface and the actual surface of the CMOS sensor (below a low pass filter and below any sensor glass). Requires a special Canon tool to measure and adjust. There is a way around - you can use a high precision digital micrometer to measure it before removal and then adjust after putting it back in place. Still, high precision is required. Canon might refuse to work on your camera after you do it in a way illustrated above. I know at least a couple of such cases and one of them was related to this specific "repair guide". Please be careful!
Mike / camera repair tech
Mike -