Introduction
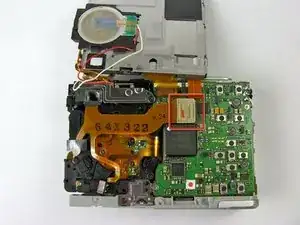
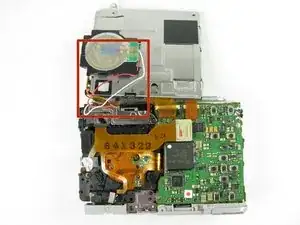
This guide will help you replace the motherboard on a Casio Exilim EX Z55 digital camera.
The motherboard connects all of the main components of the camera like the memory, graphics card, and other hardware. The motherboard essentially tells the other camera components what to do. If the motherboard of your device is broken or defective the camera would not function properly or provide you with the best results.
Turn off your camera when you begin this guide.
Tools
-
-
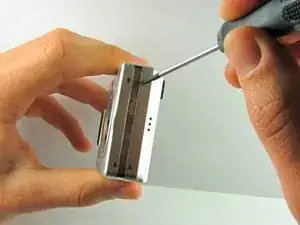
Remove eight 1.8 mm screws from the left and right sides of the camera using a Phillips #00 screwdriver
-
-
-
Remove the four 3.7 mm screws from the bottom of the camera using a Phillips #00 screwdriver.
-
-
-
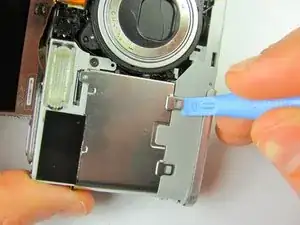
Remove the metal grating located to the right of the LCD screen by inserting the plastic opening tool under the grating and pulling up.
-
-
-
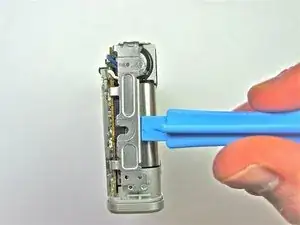
Before removing the side metal bracket, first remove the attached strap knob by twisting it off.
-
Then, remove the side metal bracket by inserting the plastic opening tool under the bracket and pulling up.
-
-
-
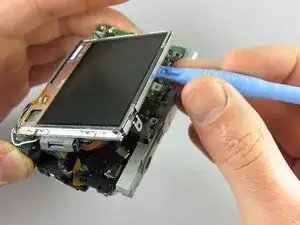
Using the plastic opening tool, pry up the LCD screen starting at one of the corners. Insert the tool under one of the corners and lift up.
-
-
-
Remove the orange ribbon cable by grabbing the white tab with your fingers and pulling gently.
-
-
-
Using the iFixit plastic opening tool, pry the battery case clamps on the front of the camera so that the bottom will come loose.
-
-
-
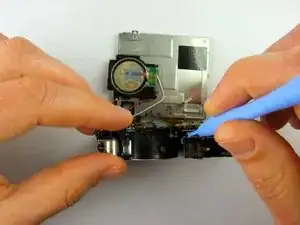
Detach the inner orange ribbon cable that connects the motherboard to the lens by inserting the iFixit plastic opening tool under the tab and lifting up.
-
To reassemble your device, follow these instructions in reverse order.
One comment
I veganlover loved this guide! Although it wasn’t vegan enough
