Introduction
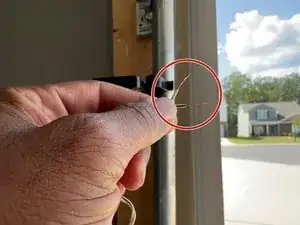
The garage door sensors prevent the garage door from closing on an object or a person in the garage doorway when it is attempting to close. When the sensors are faulty, the garage door remote may not work when pressed, causing the lights on the unit to blink.
This guide shows how to replace a Chamberlain garage door sensor. It is an easy procedure to perform and should take about thirty to forty-five minutes to complete. Minimal tools are required for this Fast Fix: a pair of wire strippers, a pair of pliers, and a step ladder.
The purchase of the replacement sensor based on the brand of garage door system is the part that is required to complete this project.
Parts
-
-
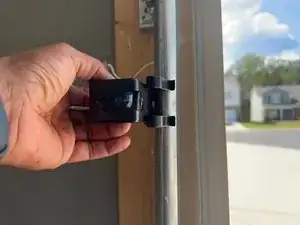
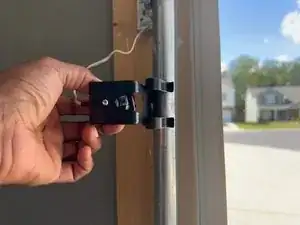
Use the wire stripper or pliers to cut the wires for the sensor about an inch from the safety sensor.
-
-
-
Separate the ends of the wires
-
Use the wire stripper to strip the ends of the wires for the new sensor.
-
-
-
Separate the ends of the wires and use the wire stripper to strip the ends of the wires going into the wall.
-
-
-
Match the wires from the wall and from the new sensor and connect them with the crimp by inserting two like-kind wires in one crimp with one wire going into each side.
-
-
-
Use the pair of pliers to press down on the round section of the crimp to seal the connection.
-
-
-
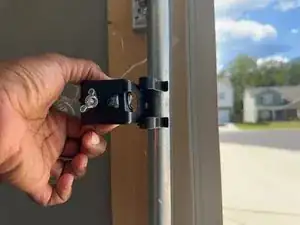
Gently wiggle the sensors to align them.
-
When the sensors are aligned, the sensor with the green safety light glows steadily.
-
-
-
Place a box between the sensors and press the garage door button to close the garage door. The garage door should return to its starting point and the garage door light flash. This result means that the new sensors are working properly.
-