Introduction
If you have a Christmas battery box containing a loose USB port causing your Christmas lights to glitch or lag, please follow this helpful guide for a quick fix. Repairing a USB port is a task that can be easily accomplished within a fifteen-minute time frame. This guide is a cost-effective and time-saving way to repair a Christmas battery box without discarding it in the trash, which helps to reduce electronic waste. To complete this repair, one will need a soldering kit, a spudger or screwdriver, and safety glasses.
Tools
-
-
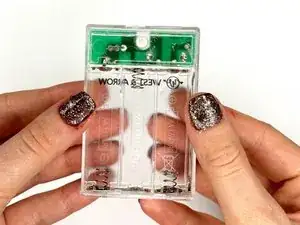
Place both thumbs, one on each side of the front cover of the battery box, and push the plastic cover upwards until it slides off the box.
-
Place the cover to the side.
-
-
-
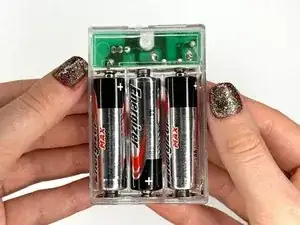
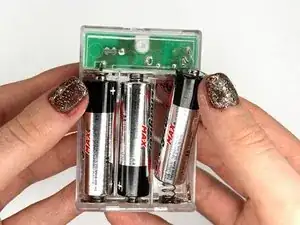
Pry each battery out with your fingernails, or use any flathead tool like a spudger or flathead screwdriver to remove batteries.
-
Place batteries to the side.
-
-
-
There will be a plastic cover over a green circuit board. Use a spudger or appropriate size screwdriver to wedge in between the cover and the board. Lift up the plastic cover with your tool of choice until the cover is pried off gently.
-
There will be a wire connecting the circuit board to the battery port. Use a spudger or screwdriver to pry the circuit board out of the box and place it to the side with the wire still intact.
-
-
-
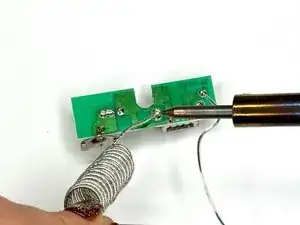
Take out the soldering metal kit. Follow closely the instructions of your soldering kit and solder the USB port.
-
Heat the soldering iron and melt some solder onto the tip. Touch the tip to the wire end and the battery terminal at the same time and let the solder flow into the joint. Be careful not to overheat the battery or damage it.
-
Repeat for the other wire and terminal.
-
-
-
Return the circuit board to the battery box.
-
Grab the circuit board. Place it inside the box and press down.
-
Place the plastic cover over the circuit board and snap back into place.
-
-
-
Return all 3 batteries back into their correct places.
-
Place the plastic cover over the box and slide it down until it snaps closed with your thumbs.
-
After this step, the repair is done. Try turning the on switch of your lights, and test out your working lights.
-


