
Introduction
If your Dell Inspiron 910 web camera isn’t showing a clear image, or no image at all, you may have a malfunctioning camera. Before replacing your camera, inspect the lens for debris or smudges, and clean with a microfiber cloth. If the problem persists, follow these steps to replace your web camera. This guide requires a plastic opening tool, a phillips screwdriver, and flathead screwdriver to follow. Before using this guide, make sure the laptop is powered off completely to prevent any further damage and the necessary tools are accessible.
-
-
Using a plastic opening tool, pry the front silver bezel away from the colored plastic shell.
-
-
-
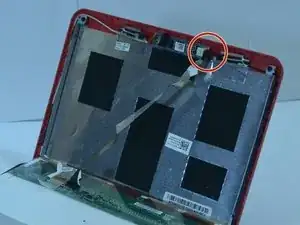
Unscrew the two screws using a Phillips #00 screwdriver from the metal casing that retains the screen.
-
-
-
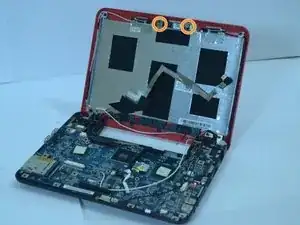
Pull down the laptop's back, keeping the screen upright, held in place by two metal strips going along its sides.
-
Unscrew the 4 screws from the two strips.
-
-
-
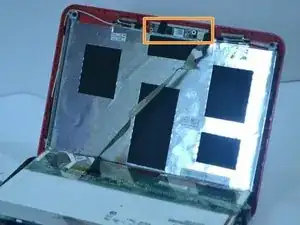
Disconnect the cord connecting the screen to the rest of the laptop. The cable will be attached to the screen using tape, so it can be safely removed. The actual cord connection is at the circuit board.
-
-
-
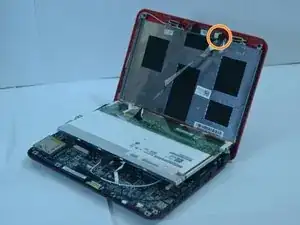
Insert the replacement webcam module so the two screws match up with the two holes in the module.
-
-
-
Carefully connect the ribbon cable running along the back of the screen to the appropriate docking station in the webcam module.
-


To reassemble your device, follow these instructions in reverse order.