Introduction
This guide shows how to remove and replace the I/O board of your Dell XPS 15 9575. Before you begin this repair, turn off your laptop and unplug it from the charger.
Tools
Parts
-
-
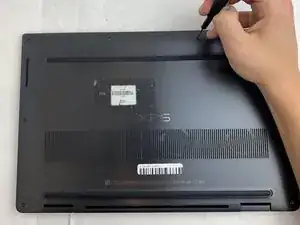
Use your T5 Torx driver to remove all eight 3.2 mm screws holding down the back panel.
-
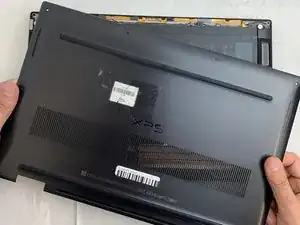
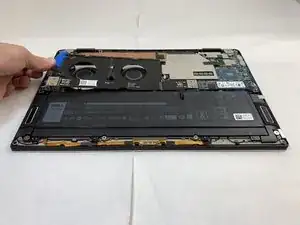
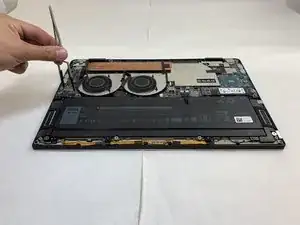
Wedge an opening pick between the back cover and the base of the board, then slightly lift the tool to pop the clips on the back cover off.
-
-
-
Use the Phillips #0 screwdriver to remove all four silver 3.2 mm screws fastening the interconnect cable.
-
-
-
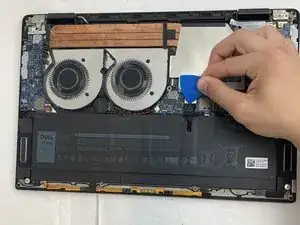
Carefully wedge the plastic opening pick between the fan and the interconnect cable.
-
Remove the interconnect cable.
-
-
-
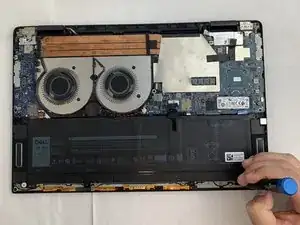
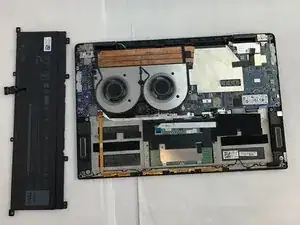
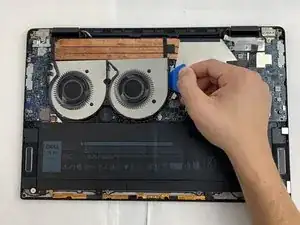
Use a plastic opening pick to separate the battery from the device.
-
Lift the battery straight up and remove it when it is completely separated.
-
-
-
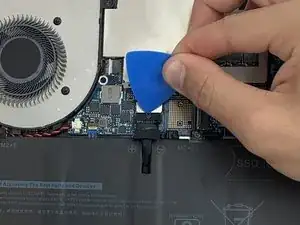
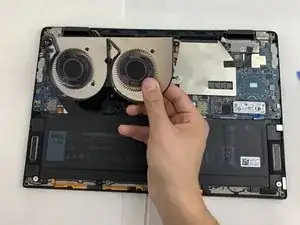
Find the wire connecting the fan into the motherboard and use the plastic opening tool to push the wire out from the motherboard's port.
-
-
-
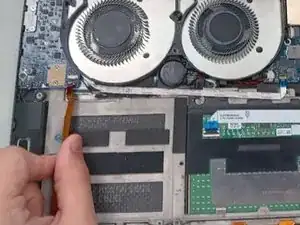
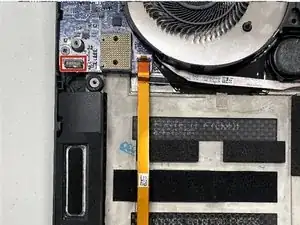
Use a spudger or a clean fingernail to flip up the locking flap of the ZIF connector.
-
Use tweezers or your fingers to gently pull the orange cable out of its socket on the I/O board.
-
-
-
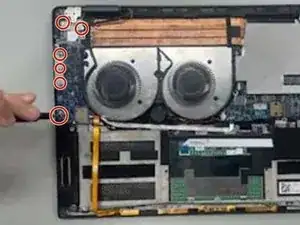
Use a Phillips #0 screwdriver to remove the six 3.2 mm screws securing the I/O board.
-
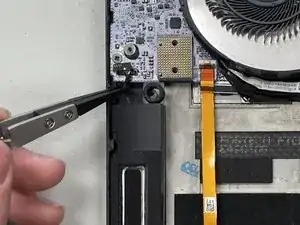
Use the tweezers to remove the silver bracket covering the coaxial cable connectors.
-
-
-
Use the point of a spudger to push on alternating sides of the connector to "walk" it out of its socket and disconnect the speaker cable from the I/O board (also known as the daughterboard).
-
-
-
To disconnect the black and white coaxial cables, slide a thin, ESD-safe pry tool or angled tweezers under the metal neck of the connector (as close to the head as possible) and lift straight up from the board.
-
-
-
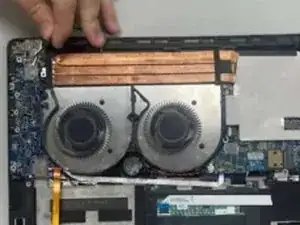
Slide the I/O board away from the edge of the laptop towards the inside of the device to release it.
-
To reassemble your device, follow these instructions in reverse order.


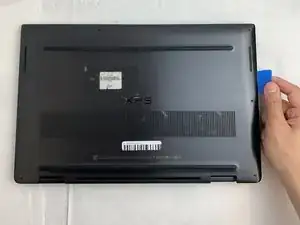















I found it quite tough to make the initial pick insertion. The easiest point for me was on the rear edge of the laptop just to the outside of the hinge.
The screws were all same size so no need to remember which came from where.
Mr Mac -