
Introduction
If you're experiencing issues with sound quality or no audio output from the speakers of your Dell XPS 15 9575 2-in-1 laptop, this guide will assist you in replacing the speakers.
The pair of speakers in your Dell XPS 15 9575 are responsible for producing audio output. Over time, they can degrade due to wear and tear or suffer damage from various factors, leading to distorted audio, crackling sounds, or complete silence.
Before proceeding with the replacement, it's important to diagnose the problem causing the audio issue accurately. If you're unsure about the root cause of the issue, it may be useful to download the Realtek High Definition Audio Driver on the Dell website before attempting to replace the hardware.
By following this guide, you'll be able to restore the audio functionality of your Dell XPS 15 9575 2-in-1 laptop and enjoy an optimal media experience once again.
Before you begin this repair, turn off your laptop and unplug it from the charging adapter.
-
-
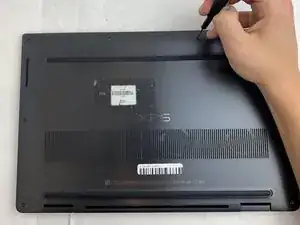
Use your T5 Torx driver to remove all eight 3.2 mm screws holding down the back panel.
-
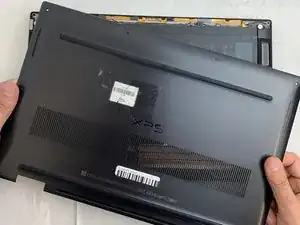
Wedge an opening pick between the back cover and the base of the board, then slightly lift the tool to pop the clips on the back cover off.
-
-
-
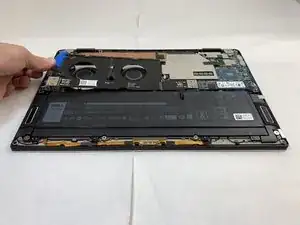
Use the Phillips #0 screwdriver to remove all four silver 3.2 mm screws fastening the interconnect cable.
-
-
-
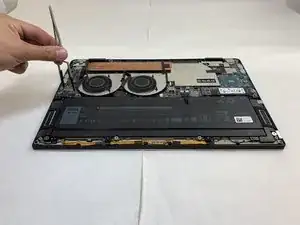
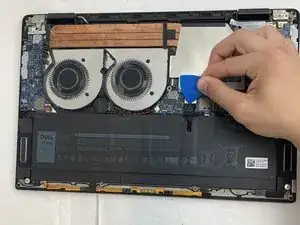
Carefully wedge the plastic opening pick between the fan and the interconnect cable.
-
Remove the interconnect cable.
-
-
-
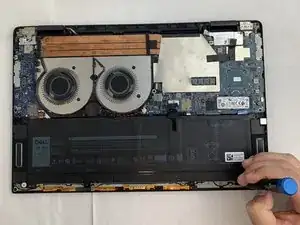
Use a plastic opening pick to separate the battery from the device.
-
Lift the battery straight up and remove it when it is completely separated.
-
-
-
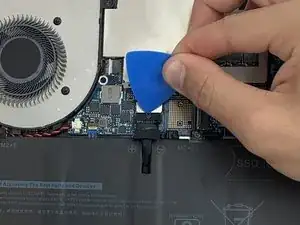
Use the point of a spudger to push on alternating sides of the connector to "walk" it out of its socket and disconnect the speaker cable from the I/O board (also known as the daughterboard)..
-
-
-
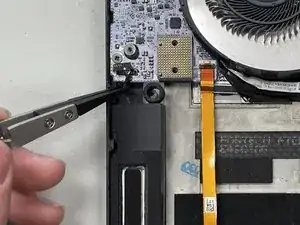
Lift the the speaker away from the laptop.
-
Detach the cable from the holders along the bottom of the case near the orange ribbon cable.
-
-
-
Remove the other speaker and the remaining cable that connects it to the first speaker from the laptop.
-


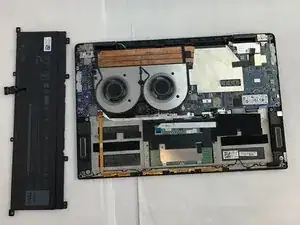


To reassemble your device, follow these instructions in reverse order. Take your e-waste to an R2 or e-Stewards certified recycler.
I found it quite tough to make the initial pick insertion. The easiest point for me was on the rear edge of the laptop just to the outside of the hinge.
The screws were all same size so no need to remember which came from where.
Mr Mac -