
Introduction
This guide will demonstrate how to replace to the DigiLand DL8006's screen. If your device does not light up, is unresponsive to touch, or you are observing lines, black spots, screen flicker, or discolored areas on your screen, you may need to replace your LCD display screen. This guide requires you to remove the battery and the motherboard: see our other guides if you are unsure as to how to do these steps.
Parts
-
-
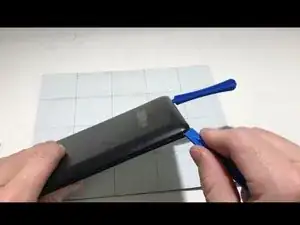
Place the device laying down on its front with the back facing upwards.
-
Use the opening tool to gently pry the edges of the back cover off the device. Slowly work all the way around the device until the panel comes loose.
-
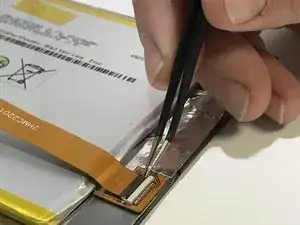
After removing the panel, remove the silver/metallic tape on the lower end of the tablet.
-
-
-
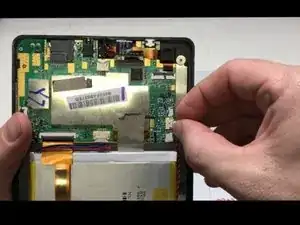
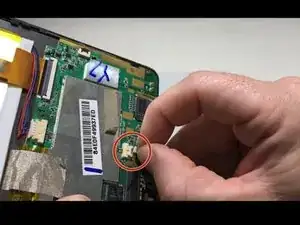
Remove the red and black cord connecting the motherboard and the bottom end of the tablet.
-
Remove the ribbon cable running over the battery. This can be done by prying the locking tab of the ZIF connector, up and then pulling the cable from the connector.
-
-
-
Remove the red and black cord that connects the motherboard and the camera. This cord is found on the upper end of the device.
-
Remove the red and blue cord connecting the battery to the motherboard.
-
Remove the tape connecting the back of the LED screen and the motherboard.
-
-
-
Remove the cable connecting the motherboard to the left side of the device.
-
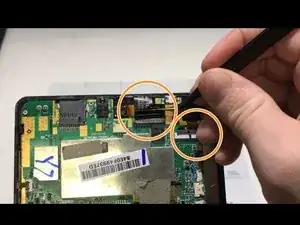
Remove both cables connecting the camera to the motherboard.
-
-
-
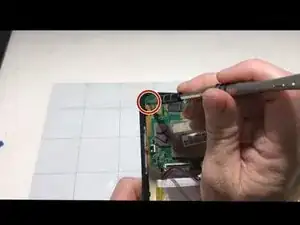
Remove the screw on the left corner of the motherboard with a Phillips #0 screwdriver.
-
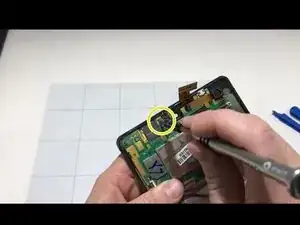
Remove the screw under the ribbon cable with a Phillips #0 screwdriver.
-
Remove the screw on the top of the motherboard with a Phillips #0 screwdriver.
-
-
-
Remove the 3 screws anchoring down the LED screen down with a Phillips #0 screwdriver. These screws can be found in the top right, bottom right, and bottom left of the device.
-
-
-
Using an opening tool, gently pry the LCD screen and glass screen apart.
-
Remove the battery by using the opening tool, or by removing the tape on the upper and lower end of the battery. From here, a new LCD screen can be inserted.
-


To reassemble your device, follow these instructions in reverse order.