
Introduction
Universal Pre-req for Optical Bay Enclosures #80 only
-
-
Remove the plastic spacer from the optical bay hard drive enclosure by pressing in on one of the clips on either side and lifting it up and out of the enclosure.
-
-
-
Make sure that the hard drive connectors are facing down before placing it into the enclosure.
-
Gently place the hard drive into the enclosure's hard drive slot.
-
While firmly holding the enclosure in place with one hand, use your other hand to press the hard drive into the enclosure connectors.
-
-
-
Once the hard drive is snug, reinsert the plastic spacer while holding the hard drive against the bottom of the enclosure.
-
-
-
Attach the optical drive bracket to the new enclosure with two Phillips #0 screws.
-
Reconnect any cables you have removed from the original optical drive onto the optical bay enclosure.
-
-
-
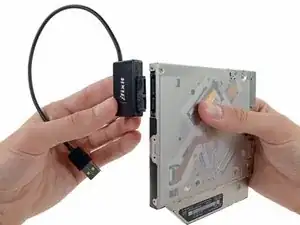
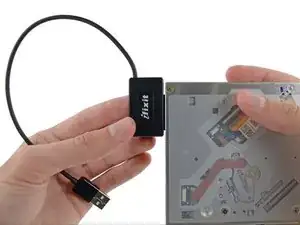
Align the cable's SATA connector with the drive's port and plug in securely.
-
Plug the USB connector into your laptop and your optical drive is ready for use.
-


To reassemble your device, follow these instructions in reverse order.

is it 9,5mm or 12,7mm for the caddy? My stuff macbook pro mid 2010, need advice what size is compatible. Thank you
Adi Purba -
All Macbooks use 9.5mm Optical Drive Caddy, also, If you’re wondering as well, the Optical Drive runs at SATA II speeds just like with the main hard drive area, so if you’re using a SSD, then it’s going to run at a slightly slower speed.
- PS5iscool - -