
Introduction
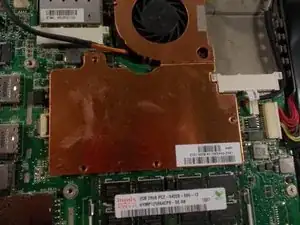
The fan and heat sink are components that prevent the device from overheating. The heat sink is usually made out of a thermal conducting metal such as copper or aluminum. Internally the fan has ball bearing that rotate and reduce friction. Over time these ball bearings can fail causing noise and eventual cause the fan to stop working.
-
-
Turn the PC on its back with the screen facing down and pull on the piece of plastic shown in the image. Use your fingernails to prod into the depression where the two plastic covers meet.
-
-
-
Using the 00 Phillips screwdriver remove the two screws in the corners.
-
Using your left hand pull at the exposed section of the PC while simultaneously pushing the right with the thumb of your other hand. This will release the plastic clips allowing back cover to slide off, as shown from the picture
-
-
-
Remove the tape covering the metal shield.
-
Remove the 12 screws using the Phillips #00 screwdriver.
-
Dislodge the shield by pulling the prongs away from underneath the battery. The shield should come completely off.
-
-
-
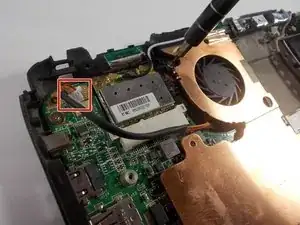
Remove the yellow tape securing the wires to the PCB board as well as the silver/grey tape.
-
Unscrew the six Phillips #00 screws.
-


To reassemble your device, follow these instructions in reverse order.