Introduction

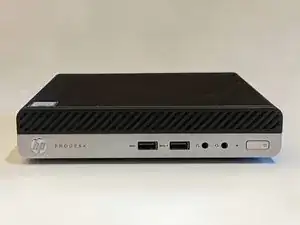
This guide will help you easily replace and/or upgrade the RAM on your HP ProDesk 400 G5 Desktop Mini PC. This repair may be needed if you have troubleshot your computer and found that the RAM is corrupted or out space. You may also want to upgrade your RAM for faster speed. Overall, it can help your computer run more quickly and smoothly. Upgrading and replacing your existing RAM is the same process.

Before beginning this repair, turn off your computer and disconnect from all peripherals and the AC adapter.

  1. mllhDSRJcNHsFaLO
    mllhDSRJcNHsFaLO
    Do32paW5hTqOOJMS
    PUMQmZeACNfwY1bO
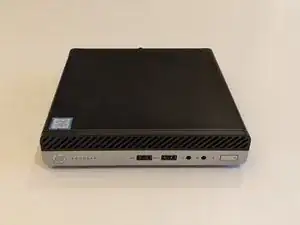
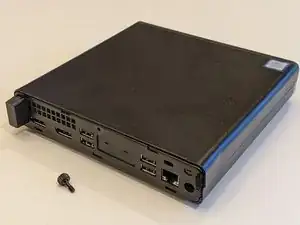
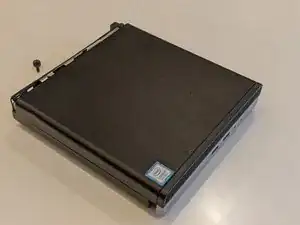
    • Turn the device around the back is facing you.

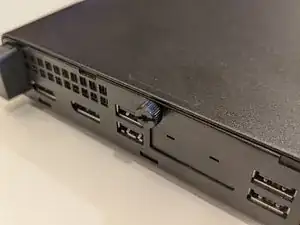
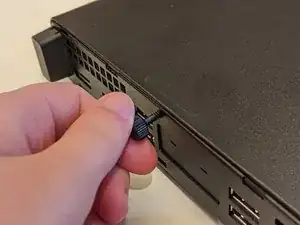
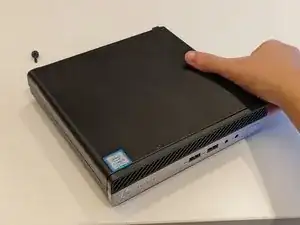
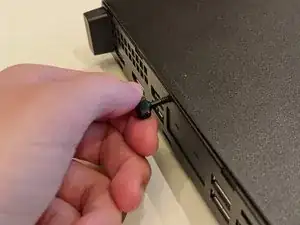
    • See the large screw in the center back of the PC.

  2. Z6IUHIDq3MgCaiJt
    Z6IUHIDq3MgCaiJt
    Nnwl1ZDU3qwxXCGq
    VqJ4UT2dhVibwuDb
    • Remove the thumbscrew holding the back panel onto the PC.

  3. 2JprIIxlATfcBSYR
    2JprIIxlATfcBSYR
    OyY2SGUGhGVO4gyE
    dmSCVE5oVqEvET3J
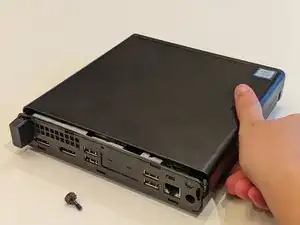
    • Slide the top panel off away from the back of the device.

    • Then, carefully lift it upwards to remove it.

  4. 2TPrFGiRnIrNohvb
    2TPrFGiRnIrNohvb
    Q1iIw13FdNBW4BPy
    htCtFicBAvPbdXij
    • Gently lift the main fan to expose the RAM modules.

  5. uPGZOg2IaIHCZKGp
    uPGZOg2IaIHCZKGp
    DfnoyGd2VLlcLERX
    UsOrUDTxc3xAmEJ6
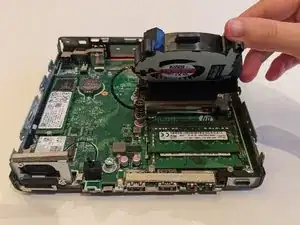
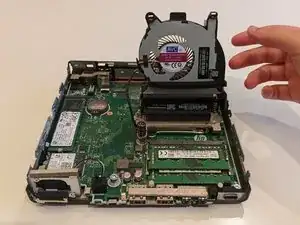
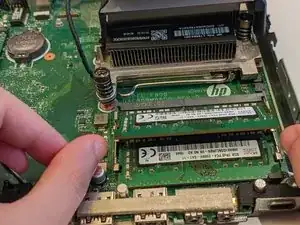
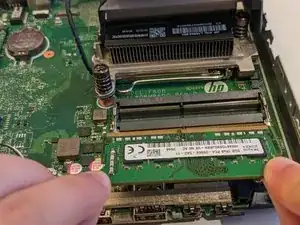
    • Using your fingers, pull the metal arms (located on both sides of the RAM module) slightly away from it, to release it from the slot.

    • The RAM will pop up by a few millimeters.

    • Remove it at an angle and not straight up so you don't damage the socket.

  6. xATN52PpUwuKEtNm
    xATN52PpUwuKEtNm
    DrZsPFR6L5kWqlDW
    kOOkY6QygUwaRfvv
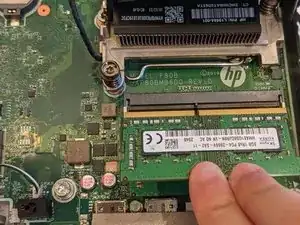
    • To insert a new RAM stick, line up the indent on the RAM with the indent on the slot, then slide it in.

  7. oabEnFCyHR41Cmtl
    oabEnFCyHR41Cmtl
    x2StRraKdtNHyDLX
    xyaR4FLwykAgH5YJ
    • Push the RAM stick down flat once it's securely attached to the socket.

    • You should hear a tactile click which indicates it was installed correctly.

    • Make sure the arms on both sides go back to their locked position.

  8. lJV4UHfqn2ETDUTl
    lJV4UHfqn2ETDUTl
    r3Ap3KIeAkEYFmXq
    feeiHDuwa2fhoejf
    • After RAM installation, place the fan back on top of the RAM and replace the panel by sliding it into place and tightening it with the thumbscrew.

Conclusion

To reassemble your device, follow these instructions in reverse order.

Sam Manshouri

Member since: 01/02/23

187 Reputation

0 comments