Introduction

Fixing a sweater snag is a relatively simple procedure that most people can accomplish with the proper equipment at home. This guide will ensure that you know to how to repair your sweater to increase its longevity while enabling you to get the most wear out of your sweater as well.

  1. 3ECYyawcRr1OJamp
    3ECYyawcRr1OJamp
    jiCjaEkADidHFXn5
    • Using scissors, cut thread that matches the color of your sweater.

  2. pFpVXVbLc6iBGW2f
    pFpVXVbLc6iBGW2f
    xusZNBsawQknsNeQ
    • Pull thread through the needle and tie a knot at the end of the needle.

  3. 2xaiXAWqSKJvHEvp
    • Lay your sweater out on a smooth surface.

  4. KbmpCgKbZmxbt5Y2
    • Identify the snag from the inside of your sweater.

  5. NlkyCG2XkQQTv4Ee
    NlkyCG2XkQQTv4Ee
    nqkAUEuyNU2NGRHy
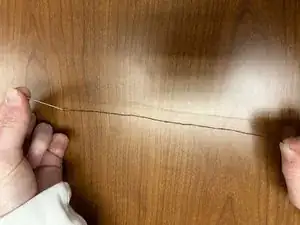
    • Pull the needle through the sweater at the site of the snag, ensuring that the needle is facing the inside of the sweater.

    • Ensure that you have enough thread to work with.

  6. cvpApWVuaOG6VvYE
    cvpApWVuaOG6VvYE
    2SKkRDBeEH1aJB2H
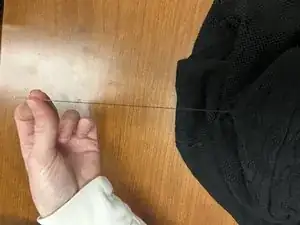
    • Loop the snag around the needle.

    • Begin to pull the needle through the snag to the other side.

  7. stCBlo16lbYTXiqv
    stCBlo16lbYTXiqv
    sO5tN2DahiliB1TI
    • Once again, face the needle towards the inside of the sweater then pull the needle through the site of snag.

  8. haEWt3SBFCktqsQM
    haEWt3SBFCktqsQM
    lUJTAhp5LGyUpCA5
    • Cut the loose thread.

    • Make sure there is enough thread sticking out from where the snag was.

  9. hMMGyjQuGvmxYTOC
    • Identify the site of the snag to ensure steps were followed correctly.

  10. dGiZx4KYhmGhIX3b
    • Steam the sweater at the site of the snag to secure the fix in place.

Conclusion

To reassemble your device, follow these instructions in reverse order.

Hannah Ziebell

Member since: 20/02/24

181 Reputation

0 comments