Introduction
Use this guide to reinstall the motherboard, the motherboard buffer, and the button bracket when transferring your old tablet's internals to a new screen for your Kobo Libra eReader.
Parts
-
-
If your replacement screen comes with pre‑installed adhesive for the motherboard buffer, peel off its liner.
-
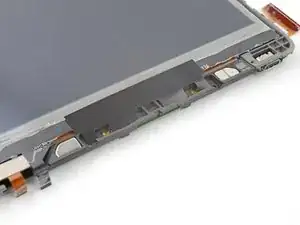
Place the motherboard buffer on its slot in the frame, making sure it's aligned properly on the screw posts.
-
Use your fingers, or a spudger, to press down the motherboard buffer and adhere it to the frame.
-
-
-
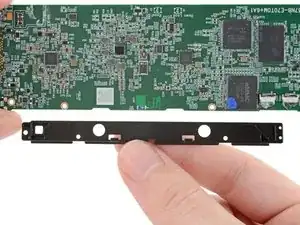
Slide the button bracket onto the motherboard so its two clips are aligned properly on the indents.
-
The bracket can slide back-and-forth along the indents. Check if the three screw holes are aligned to gauge if the bracket is in the right spot.
-
-
-
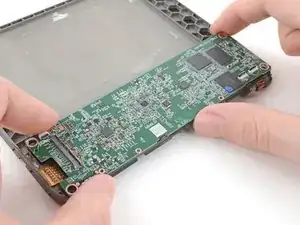
While holding the button bracket in place, lay the motherboard into its slot on the frame.
-
If necessary, slide the button bracket back‑and‑forth until you feel its two holes slot into the alignment pegs.
-
Check that all of the cables are above the motherboard before continuing.
-
-
-
Use a Phillips screwdriver to reinstall five of the screws securing the motherboard and the button bracket:
-
Four 2.4 mm‑long screws
-
One 3.9 mm‑long screw
-
-
-
Flip over your tablet so the screen is facing up.
-
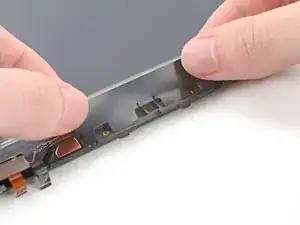
Align the light sealing tape over the button bracket and the screen, making sure that the four tabs don't overhang the bracket.
-
Apply the light sealing tape to the button bracket and screen.
-
-
-
Use the flat end of a spudger, or your fingers, to press down the light sealing tape and adhere it.
-
Return to the original guide and continue reassembly, skipping steps you did for this procedure.
-


Repair didn’t go as planned? Try some basic troubleshooting, or ask our Answers Community for help.
