
Introduction
The printer will stop printing and will display an alarm light. A paper jam warning will be displayed on the computer.
-
-
For safety ensure that the printer is powered off.
-
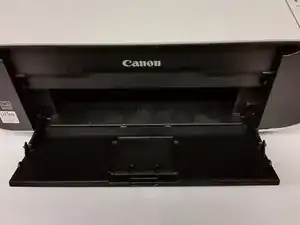
Lift the scanning unit until the scanning until support is vertical.
-
Lower the scanning unit until the scanning unit support seats in the scanning unit support slot.
-
-
-
Locate the paper jam.
-
Firmly grasp the end of the paper that is most accessible.
-
Pull the jammed piece of paper from the printer evenly.
-
-
-
Scrub the paper feed roller using the detailing brush.
-
The roller can be rotated manually so the entire surface of the roller can be cleaned.
-
-
-
Lift up the scanning unit and press the scanning unit support inward while lowering the scanning unit.
-
The printer is now ready to print.
-


To reassemble your device, follow these instructions in reverse order.