
Introduction
There are clips and cables that can easily break upon opening. We’ll dive into how to not ruin these important electronic and structural components.
-
-
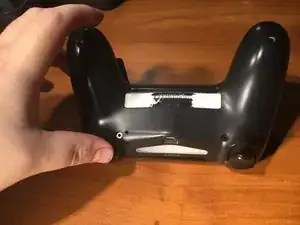
Use a prying tool to pry gently at the grips of the controller, mind both of the AUX latches.
-
-
-
Take a prying tool, undo the two clips by the AUX Port by pushing them inward.
-
There are two latches on the side. With a prying tool, undo those by pushing them inward.
-
-
-
Ok, sometimes the triggers would get stuck in the bottom shell. This may cause a broken trigger or a missing spring.
-
I’m doing this one sided cause I had to hold the camera. Restrain the triggers with your thumb, pry the bottom directly towards you as shown. Use both hands.
-
-
-
The screw Bores hang from the top shell like stalactites. Pry up on both sides with both hands as shown. I am using one hand because I’m holding the camera.
-
-
-
Rotate the bottom shell away. The battery assembly is removed in this picture for a better view. Detatch the ribbon cable at the Motherboard.
-


To reassemble, follow the reverse movement of the bottom shell, it should clip right back on. Screw it back in.