Introduction

Taking out the speaker for a replacement

  1. iRkNMKLREWUXdHDq
    iRkNMKLREWUXdHDq
    JOWsIfIFiQ13mpUR
    • Insert the flat edge of the metal spudger underneath the corner of the outer case.

    • Use the spudger to pry open the plastic clips that secure the outer case.

  2. jNCK5FTmUZk4EgND
    • Once all the clips are released, you will be able to pull up that edge of the case.

  3. n3Op4dgsfWLEgoyf
    • Once one side is released, complete the previous two steps with the other side.

    • This side contains the buttons, so be careful so as to not damage them while prying the case off.

  4. jSJYsVPSEPLbtcjU
    jSJYsVPSEPLbtcjU
    wkCWofv1KaLNOWoY
    • Once all the clips are removed, you can gently remove the outer case.

    • The case is now fully removed. Now a new case will be attached by putting the case into position and pushing on the clips to reattach them.

  5. alidjuiZ3XToKF1d
    • Begin by unscrewing the four 9.6 mm-long screws with the Philips #00 screwdriver.

    • Make sure to be careful with the gasket under the edges!

  6. LuVl6LPpZdXITiew
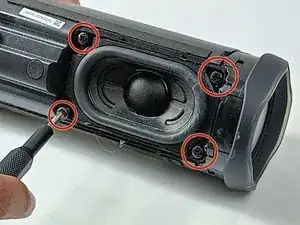
    • Once screws are fully out make sure to carefully pull out so the wires connected don't get damaged.

  7. ktRJStooYrgwxBdS
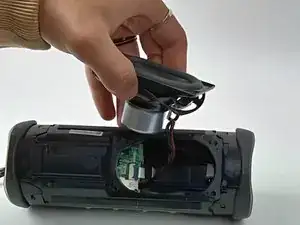
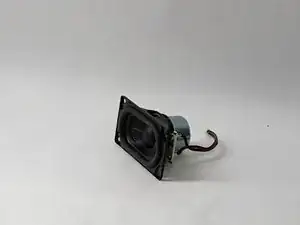
    • Once you carefully lift up the speaker, gently disconnect the wire that connects the speaker to the motherboard.

  8. 3RMLYdbWIJlHmqKE
    • Once connection has been disconnected you can lift the speaker completely out.

Conclusion

To reassemble your device, follow these instructions in reverse order.

Gaurang Karpe

Member since: 30/10/23

151 Reputation

0 comments