Introduction
The Kodak EasyShare M1033 device, released in 2008, is prone to sustaining scratches or imperfections on the LCD due to faulty maintenance or usage. Fortunately, it is moderately easy to replace the screen. This guide provides step-by-step instructions on how to successfully replace the LCD screen assembly of your Kodak EasyShare M1033 camera.
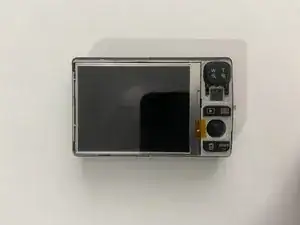
The LCD screen is crucial for any camera as it displays your photos and settings. A faulty screen can make it difficult to view the content on your camera and won't give you the best experience you deserve.
Although it’s unlikely to receive an electric shock from the capacitors when repairing a digital camera, it is still possible. Therefore, taking precautionary measures by removing the battery before you begin the repair.
Here is the link to the Kodak EasyShare M1033/M2008 manual if you need further assistance.
Parts
-
-
Turn the camera over so the battery compartment is facing up.
-
Place your thumb on the embossed surface of the battery latch, and push down and out until the latch releases.
-
Push down on the orange tab to release and remove the batteries.
-
Close the latch.
-
-
-
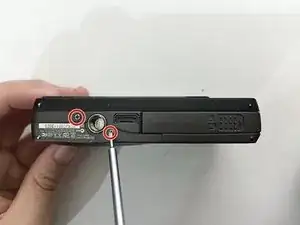
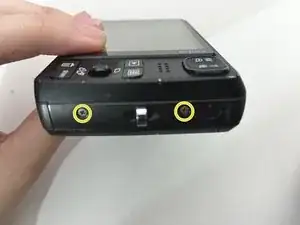
Use a Phillips #00 screwdriver to remove six screws along the edge of the camera.
-
There are two screws next to the battery compartment
-
Two screws on the left side
-
Two screws on the right side
-
-
-
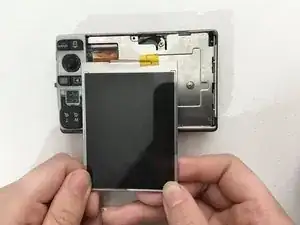
Use a spudger or your fingernail to pry the plastic case covering the LCD screen from the back of the camera.
-
-
-
Use a spudger to gently pry the LCD assembly and move it to reveal a ZIF connector.
-
Use your fingernail or the tip of the spudger to flip up the small locking flap.
-
Gently pull the cable out.
-
Remove the old LCD screen assembly.
-
-
-
Carefully insert the ribbon cable of the new LCD screen assembly into the ZIF connector and securely flip the lock down.
-
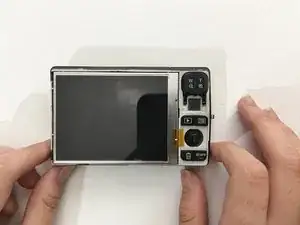
Place the LCD screen assembly back into the original position.
-
-
-
Place the back case on top of the new LCD screen.
-
Use the Phillips #00 screwdriver to replace the six screws along the edge of the camera that secure the back case.
-


To reassemble your device, follow these instructions in reverse order.