Introduction
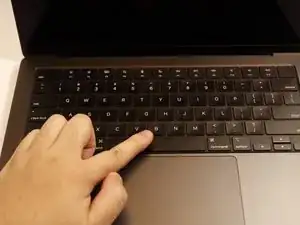
Sticky keys are a frequent issue that can interfere with the functionality and responsiveness of your keyboard. They often occur due to various contaminants such as spills of soda, accumulations of food debris, dirt, dust, and other particles that find their way beneath the keys. This problem not only affects typing but can also cause keys to become unresponsive over time. This guide is specifically for newer scissors keyboard mechanisms from 2019 onwards.
Our step-by-step instructions will help you safely clean and restore your keyboard's functionality without causing damage, ensuring that you can get back to typing smoothly and efficiently. Whether you're dealing with a minor annoyance or a completely stuck key, this guide is designed to provide you with the practical solutions needed to fix the issue yourself using simple tools and methods.
-
-
Dip a cotton swab into high-concentration isopropyl alcohol and clean the surface/surroundings of the keycap.
-
-
-
Use a toothpick to gently remove crumbs or debris stuck in the gap between the keyboard metal and keycaps.
-
-
-
Remove the 2 plastic key carrier parts using tweezers.
-
Use tweezers to grab one side of the tip (circled in orange) of the carrier parts and pull it out. Do the same thing on the other side of the tip.
-
-
-
Use cotton swabs with damp with high-concentration isopropyl alcohol to clean the part underneath the key carriers.
-
-
-
Let the carrier parts dry on a tissue paper.
-
Use The Super Lube LightWeight Synthetic Oil to lube the 2 carriers before assembling them, especially the parts that contact with other parts.
-
-
-
Reinstall everything and pop up the keycaps.
-
When the keycaps are reinstalled, slide them to the top of the keycap first, then press down the bottom part until you hear a "click."
-


To reassemble your device, follow these instructions in reverse order.
