
Introduction
This guide is out of date! For the updated version, go here.
-
-
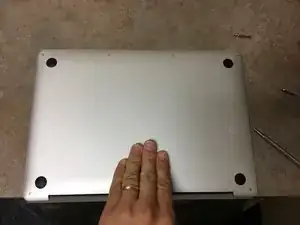
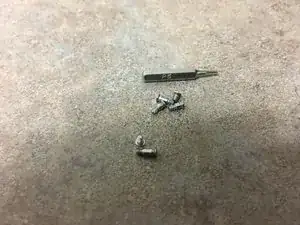
First remove the 4 corner screws. Next remove the two longer center screws and keep them separate. Finally remove the two center screws, which are the shortest. Keep in mind the different lengths when reassembling the MacBook
-
-
-
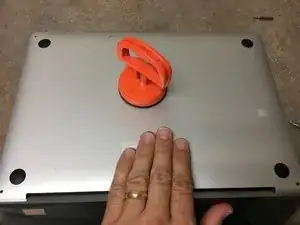
Use a suction cup to remove the rear cover. This may take slightly more force but is safer than using a splugger around the edges.
-
-
-
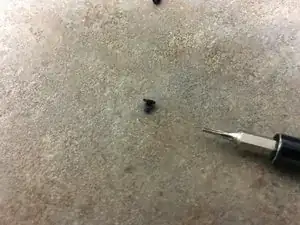
Use a Pentalobe P5 to remove the hinge cap screws. Pry the hinge caps off. .
-
Use a T8 bit to remove the hinge screws.
-
-
-
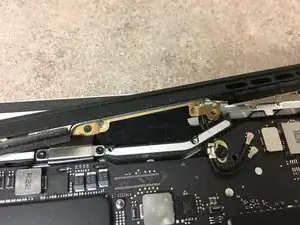
Use a Torx 5 to remove the two screws highlighted. The screw nearest the centre is shorter. Repeat for opposite side .
-
-
-
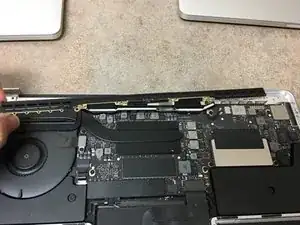
Time to wiggle all the cables out from under the vent bar we detached (the one with all the tiny screws).
-
Once this is done you can remove the screen assembly from the bottom kit.
-
-
-
And there it is. Not too bad. Total repair time for me was about 10-15 minutes. But then I have a hard time with the tiny screws.
-
Just reverse the steps and you should be good to go.
-


To reassemble your device, follow these instructions in reverse order.