
Introduction
For the correct procedure, click here. You are viewing an older guide that is retained for historical purposes.
-
-
follow steps to remove bottom case if needed. how to remove bottom case.
-
with bottom case removed, begin with disconnecting the battery. this is done by fist moving the ribbon cable out of the way of the screw that secures the battery contact. Once unscrewed, lift flap to interrupt contact to battery.
-
-
-
next, remove the antenna bar. unlike the previous generation MacBook pros, the wifi antenna is not attached to the display assembly.
-
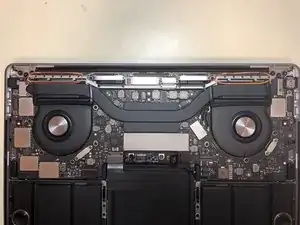
To remove the antenna bar, start by removing the 12 screws located above the left/right heat sink vents by using a Pentalobe-2 (P2) bit.
-
next, remove the shield plates by taking out the 8 T3 screws circled in green.
-
after the shields are removed, lift up on the center snap-in connector on the antenna bar.
-
-
-
remove the t3 screws securing the antenna bar in place.
-
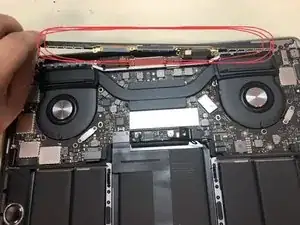
disconnect the antenna cables and remove the bracket screw located beneath the cables.
-
-
-
remove antenna bar by lifting and sliding it out of the unit. The antenna cables will slide out from underneath the heatsink and through an opening located where the red arrow is pointing.
-
-
-
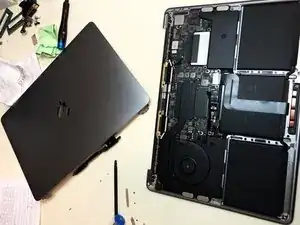
with the antenna bar removed, it is now time to remove display assembly. it is recommended to have the display at 90degree angle for removal. remove the screws indicated by the red circles. (*there will be a plastic black covering over the display hinges. it will need to be removed first to expose the hinges.)
-


To reassemble your device, follow these instructions in reverse order.