
Introduction
The B button can malfunction or get misaligned due to improper or over use. Installing the B button requires disassembly of the entire device. This means removing the front cover plate, and the motherboard.
-
-
Flip the Wii Remote over so the battery cover faces you.
-
Push up on the bottom tab.
-
Remove the battery cover.
-
-
-
Remove the first battery by pressing down on the positive end and pulling the battery out.
-
Remove the second battery by pushing up on the positive end and pulling the battery out.
-
-
-
Using a tri-point Y1 Screwdriver, remove the two center 7mm screws by turning them counterclockwise.
-
Repeat with the two bottom screws.
-
-
-
With the flat end of a spudger, gently apply pressure to the tabs located on left side of the controller.
-
Open the front plate like a book.
-
-
-
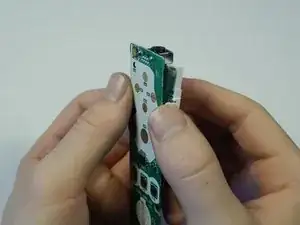
Locate the black sensor screen found at the bottom end of the Wii remote.
-
Grip the free edge of the black sensor screen and gently pull it down to remove from the Wii control.
-
-
-
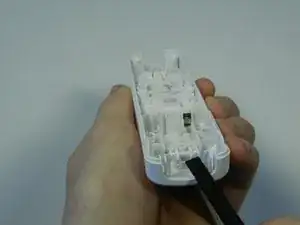
Find the two small tabs near the front end of the white plastic housing.
-
Place the flat end of the spudger tool under one tab and lightly push up until the tabs pop out of place.
-
-
-
Flip the motherboard so that the rumble motor and the white plastic housing face up.
-
Place the flat end of the spudger tool under the round rumble motor and lightly push up.
-
Tilt the motherboard to the left and the rumble motor will fall out of the white housing.
-
-
-
Flip the motherboard over and locate the two white tabs at the top the plastic housing.
-
Place both thumbs on the inside of the tabs and push the tabs outward.
-
Use the inner sides of your thumbs to separate the motherboard from the plastic housing.
-


To reassemble your device, follow these instructions in reverse order.
my battery cover is different. The batteries are attached to the actual cover and come out when the back is removed.
Kim Pearson -