
Introduction
Display screens can break from falls or scratches. Instead of purchasing a new device, replacing the screen is far more inexpensive. It's very important to keep both the large white connector and the gold connector from being pulled or torn, so keep the side panel close to the motherboard when first opening the device.
-
-
Find the tab at the bottom covering the battery compartment.
-
Pull back the tab to reveal the battery compartment.
-
-
-
To remove the battery from the device, pull back the tab holding it in place and then remove the battery.
-
-
-
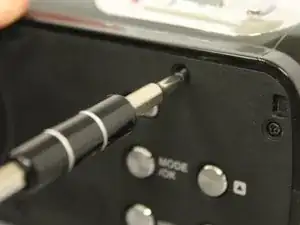
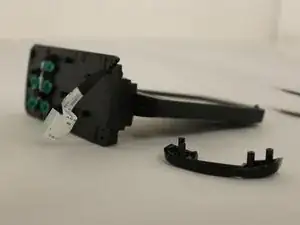
To remove the side face of the device, you can use a plastic pick to gently pry it off. Be careful while doing so to avoid potential device damage.
-
-
-
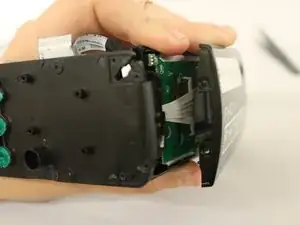
Carefully open the side face. Keep the side face close to the body of the device to avoid pulling on the white wires.
-
-
-
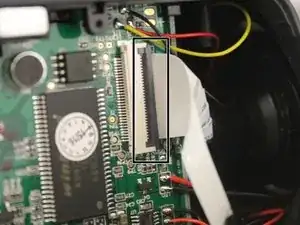
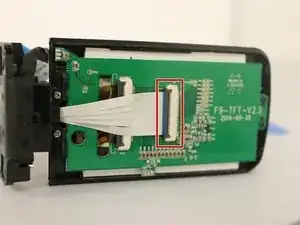
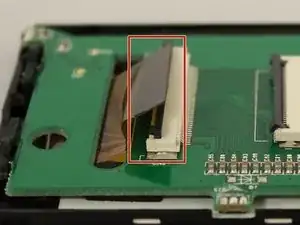
To remove the side face completely, locate the big white connector.
-
Lift the grey lip using tweezers. Then, carefully take out the white connector.
-
-
-
Set the device down with the screen facing towards you.
-
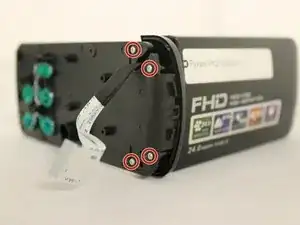
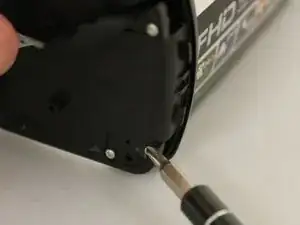
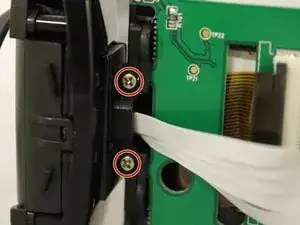
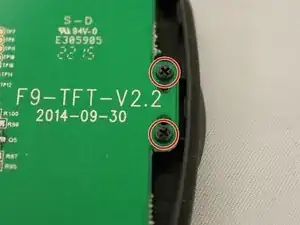
Remove the four 4mm silver screws from the back of the side face.
-
-
-
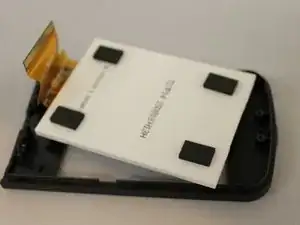
Twist the screen to the side to reveal two black 4mm screws.
-
Remove screws from both sides of the screen.
-


To reassemble your device, follow these instructions in reverse order.
