Introduction
Welcome to the Razer BlackWidow V4 Keyboard keycap replacement guide! Whether you're a gaming enthusiast or a productivity pro, broken keyboard caps can disrupt your workflow and gaming sessions. However, fear not! This guide will walk you through the process of replacing keyboard keys on your Razer BlackWidow V4 Keyboard, ensuring you can get back to typing and gaming in no time.
Fixing a broken keyboard not only restores functionality but also promotes sustainability, saves money, and provides a rewarding “DIY” experience. With this guide, you can confidently replace keyboard keys on your Razer Black Widow V4 Keyboard and get back to gaming and typing with ease.
-
-
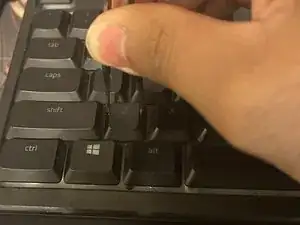
With key cap tweezers, align and grasp the edges of the keycap with force.
-
Once you have a firm grasp, push in and up.
-
-
-
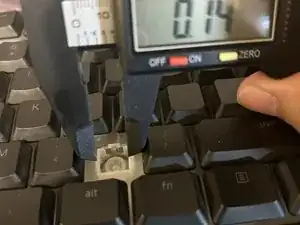
After the keycap is off the keyboard from the center holder, simply pull up and place to the side.
-
-
-
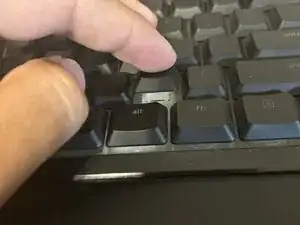
Use a spudger to realign the clip on the keyboard by simply pushing down on the side or center of the clip.
-
-
-
Use either a dust cleaner or Co2 compressor to spray away any debris that may be inside the holder.
-
-
-
Add a drop of keyboard cap lubricant to make sure that any friction or shear pressure is dispersed evenly throughout the lifespan of the keycap.
-
-
-
With a slight force press down and hold.
-
Once the keyboard has been clicked in successfully, enjoy your keyboard.
-