
Introduction
This guide should be used if the led lights on your razor hovertrax 2.0 stop working. You can choose to replace one side, but razor sells them in packs of two for replacements. The link to the replacement part brings you to the razor replacement part store, at the time of the creation of the guide we cannot access the direct link to the part as it is out of stock. This is the part number: Part# W15155045521.
Parts
-
-
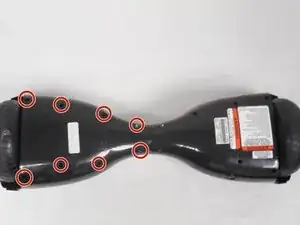
Use a #2 Philips screwdriver to remove the eight 18.5 mm screws from the bottom of the Hovertrax 2.0.
-
-
-
To remove the led connector from the board, press the clip in with your fingers and gently pull up.
-
-
-
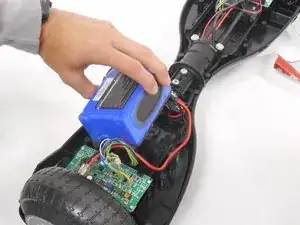
Disconnect the battery connector by grabbing the black side with one hand and the yellow side with the other hand and gently pull apart. (Try not to pull on the wires, it could damage them)
-
-
-
Remove the two 17.2 mm hex head bolts using the 4 mm hex screwdriver that secures the battery in place.
-
-
-
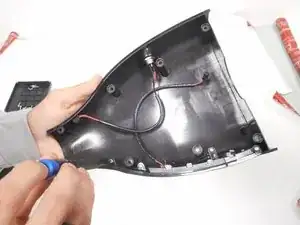
Get the back cover you removed over the battery, the led light housing is located here.
-
Removed circled screws and remove the light housing
-
-
-
Remove cover on the opposite side of the battery.
-
Remove the screws with #2 Philips screwdriver circled to gain access to the lights.
-
-
-
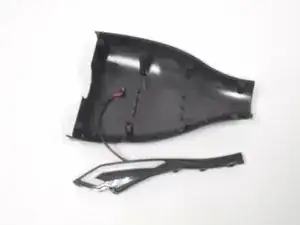
Carefully remove the black cover, and unplug the indicated connectors.
-
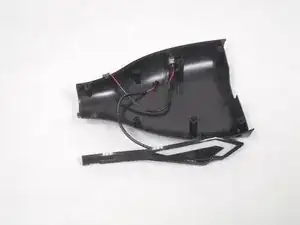
You should be left with the cover by itself.
-
-
-
Remove the four indicated screws using a Philips head screwdriver.
-
After removing all the screws lift the led light housing off the cover.
-


To reassemble your device, follow these instructions in reverse order.
