Introduction

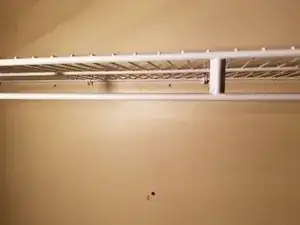
If your closet rack has torn out of the wall due to being overburdened by weight placed upon it or is damaging the wall and is close to collapse, then this guide will show you step-by-step how to repair and reinforce your closet rack.

Before beginning, if you are unfamiliar with operating a hand drill or just need a quick brush up on your skills, then I recommend reading through this guide.

  1. CrmD4wyHbUfORTXl
    • Use the putty knife and spread the dry wall compound filling any holes and damage made to the wall.

  2. UMCmrv6GtTyqQOQv
    • Allow the compound to dry off so as to reach maximum hardness.

  3. 4VCtwIrPfdjVduc1
    • Use the 100 grit sandpaper and gently sand down the areas that were puttied, thus making them flush with the wall.

    • Use safety glasses and a dust mask protecting both your lungs and eyes from any particles coming off the wall.

  4. xlDnSB26DhEsGpCM
    • Measure and mark where the new holes will go for the brackets, c-clamps, and braces.

    • Allow 11"-12" of space between the side wall and the first bracket and each subsequent bracket.

    • Mark holes for the c-clamps half the distance between the brackets.

    • Use a level to guarantee the rack will be straight.

  5. cuvYJLNSsUCEp21V
    • Use a drill with a 1/4" drill bit and make holes at each mark.

    • Use safety glasses when operating the drill, and be cautious and careful when handling the drill. Careless handling of the drill can lead to injury. For more information on how to properly handle a drill refer to this guide's introduction.

    Bonjour est -ce que cela marche avec un perforateur ?

    https://www.meilleur-perforateur.fr/

    gerard -

  6. DXIWlh3n1ObjYLNO
    • Use a hammer and knock the plastic anchors into the wall where the holes were drilled.

    • Use #8 plastic anchors for best results.

  7. UP6f4XykZdCSgrB6
    • Use a brush and matching wall paint to coat the areas that were puttied and allow it to dry.

  8. XhDJYdwlErLuMlff
    • Use a flathead screwdriver and screw the brackets into the plastic anchors.

    • Use 1-1/4" flathead screws for best results.

  9. XpN3kZwYO4WvH22E
    • Take the closet rack and place it onto the brackets.

  10. cI2ShSfOATu425Am
    • Use a Phillips screw driver to screw the c-clamps into the plastic anchors and reinforce the rack.

    • Use Phillips #8 1-1/4" screws for best results.

  11. GX5mEBUhgNUHAu2M
    • Place the support braces on the rack.

    • Use a Phillips screw driver to screw them into the plastic anchors.

Bojan Krtinic

Member since: 12/05/20

247 Reputation

One comment

Just a question what if you wanted to install a heavier more solid longer rod?

Chris M -