
Introduction
If the device is not powering on or holding a charge, this guide will assist you in removing and replacing the battery in the Retroid Pocket 3+ safely. This process will take approximately 15-20 minutes, and the tools needed for the project are listed in this guide.
For your safety, turn off the device and ensure the battery is fully discharged before starting this process. If your battery looks puffy or swollen, take extra precautions when removing the battery. Remember to follow general electrostatic discharge (ESD) safety procedures when removing the battery.
Do not reuse the old battery after it has been removed, as it can cause a safety hazard.
-
-
Unplug any cables connected to the Retroid Pocket 3+.
-
Ensure your device has a charge of 5% or less as a charged battery can be dangerous if punctured.
-
-
-
Remove the four 6 mm screws from the backplate of the device with a T5 Torx screwdriver.
-
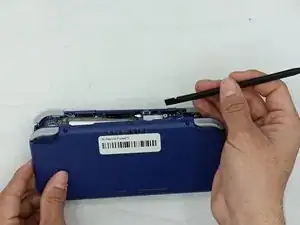
Use a plastic opening tool or spudger to gently pry apart the backplate from the device.
-
-
-
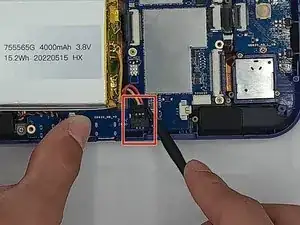
Use a plastic opening tool or spudger to unclip the battery connector.
-
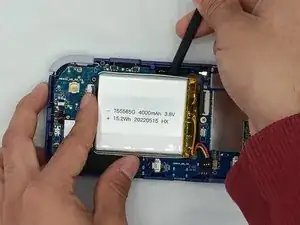
Carefully lift the battery from the case.
-
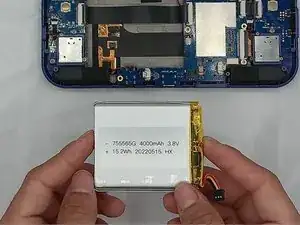
Lift and remove the battery.
-


To reassemble your device, follow these instructions in reverse order.
