Introduction
Welcome to our comprehensive replacement guide for the Roborock vacuum's main brush holder. If you've noticed diminished performance or irregularities during your vacuuming sessions, it might be time to address the main brush holder. This crucial component plays a pivotal role in ensuring effective cleaning and maintaining the overall efficiency of your Roborock vacuum.
In this guide, we'll walk you through the step-by-step process of replacing the main brush holder, providing detailed instructions to simplify the task. Before you embark on this replacement journey, ensure that your Roborock vacuum is powered off to guarantee a safe and seamless procedure.
Let's dive into the intricacies of replacing the main brush holder and revive your Roborock vacuum to its optimal cleaning prowess.
Tools
-
-
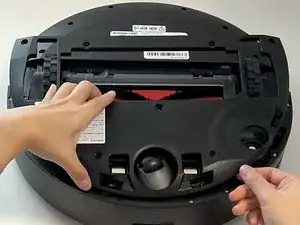
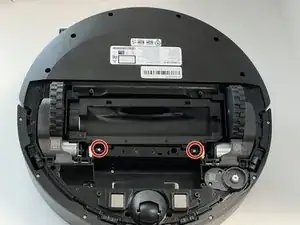
Power off your Roborock and place the device on a flat surface with the wheels facing up.
-
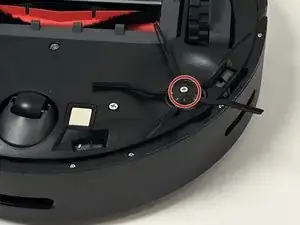
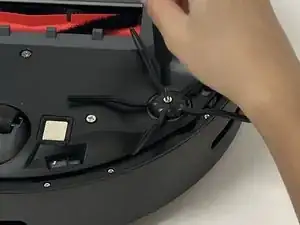
Position the robot so the five-pronged side brush is on the bottom right side.
-
-
-
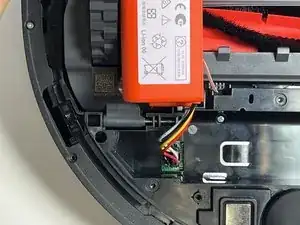
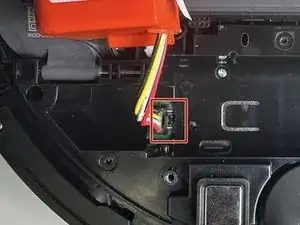
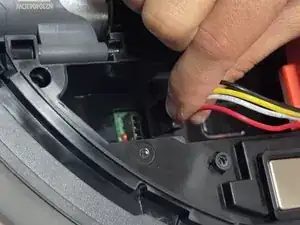
Using moderate pressure, squeeze and pull on the four-wire connector to disconnect the battery from the robot vacuum.
-
-
-
Carefully flip the device and place it wheels down.
-
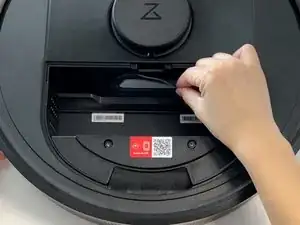
Pinch the dustbin tabs and pull up on the dustbin to remove it.
-
-
-
Carefully flip the device over and place it with the wheels up.
-
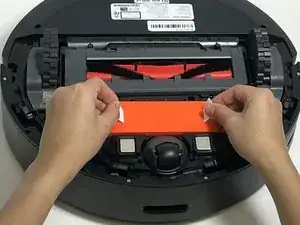
Push both of the gray retaining tabs toward each other and lift the cover on the main brush holder to remove it.
-
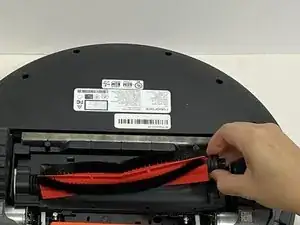
Grip and remove the main brush.
-
To reassemble your device, follow these instructions in reverse order.


