Introduction

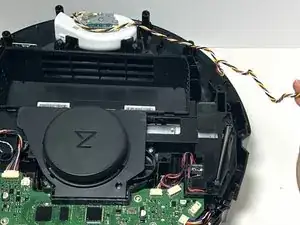
Over time, the suction motor may experience a decline in its performance, leading the vacuum to necessitate more frequent maintenance. If your robotic vacuum encounters difficulties in maintaining suction, exhibits irregular behavior during operation, or doesn't operate at its full suction capacity, these are indicators that the suction motor may be deteriorating.

Adhering to proper maintenance practices and following the manufacturer's guidelines can extend the lifespan of the suction motor. Additionally, advancements in motor technology provide more robust replacement options.

Refer to this guide for replacing the suction motor in your Roborock Q5 robot vacuum. Before initiating the procedure, ensure that your device is powered off.

  1. 1AHOROoelcWA2xcm
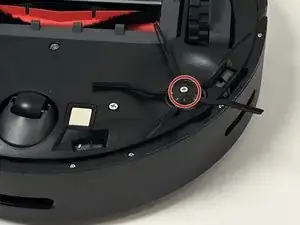
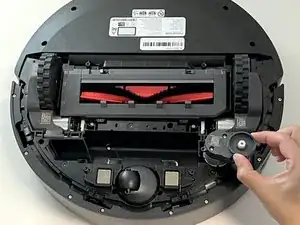
    • Power off your Roborock and place the device on a flat surface with the wheels facing up.

    • Position the robot so the five-pronged side brush is on the bottom right side.

  2. 53AkC4xjTRN4mY2c
    53AkC4xjTRN4mY2c
    MsVyCUQpBDWFVr1e
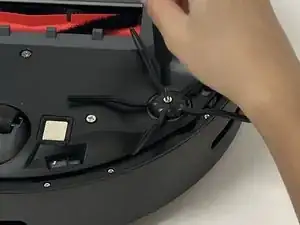
    • Use a Phillips #2 screwdriver to loosen the single side brush screw.

    • The screw is attached to the side brush so they cannot be separated.

  3. JSIJDU5SsJVOKqnb
    JSIJDU5SsJVOKqnb
    6PMqrKrluxUPqYK3
    • Lift the side brush up and off.

  4. ZESbORNY5kLuVJhB
    ZESbORNY5kLuVJhB
    DpgplPSC2AokhK2J
    DSrHtD2he2H2inBQ
    • Use a Phillips screwdriver to remove the seven 15 mm screws from the bottom panel.

  5. HJItcUcCsUIcBLQ3
    HJItcUcCsUIcBLQ3
    WjxcPXJJrhymNBU5
    JIBrMRWUN5rCvQEP
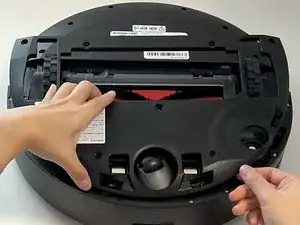
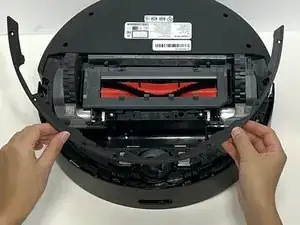
    • Gently lift off the bottom panel cover.

    • If the bottom panel is stuck, use a plastic spudger along the edges to gently lift it out of place, then remove it by hand.

  6. rSBaPISvXbSUyFJu
    rSBaPISvXbSUyFJu
    paTcw2YMkCvnGbRO
    LIDgYQTbbNCTFP2R
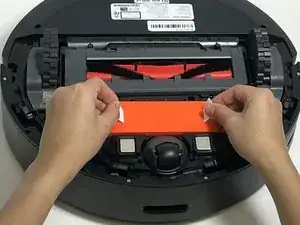
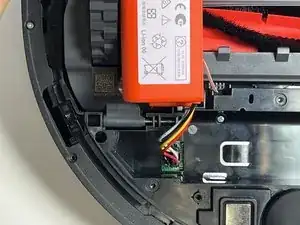
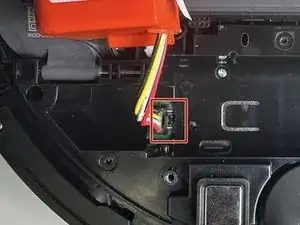
    • Use the two white straps to lift the battery out slightly to reveal the battery connector.

    • The battery is still connected to the robot vacuum. Take care not to strain the battery cable.

  7. ydoJRLEXQ5eaQAlp
    ydoJRLEXQ5eaQAlp
    kdtcTdcZ4eSrRMjg
    KeUXfPtqCBomi5Bk
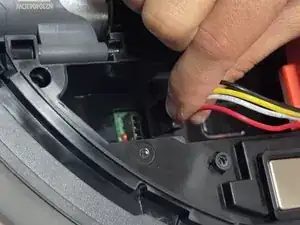
    • Using moderate pressure, squeeze and pull on the four-wire connector to disconnect the battery from the robot vacuum.

    Add a picture of the battery removed

    Alex Watkins -

  8. SNgODFmUtT4s1nVq
    SNgODFmUtT4s1nVq
    emGxGVO1rWlIDOBH
    vsB61XQ2ofMRLuYu
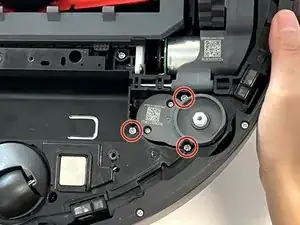
    • Remove the three 10 mm Phillips screws that secure the side brush motor.

    • Gently lift the side brush motor up and out of its housing.

  9. oEKm1CLpGhIoKljd
    oEKm1CLpGhIoKljd
    w4C6sYDGSluGWCpX
    • Use a Phillips screwdriver to remove the eight 11 mm Phillips screws that secure the front sensor panel cover.

  10. jlBYJATBq3Q3C5LL
    jlBYJATBq3Q3C5LL
    XrR4YYsLhJRHcdtj
    • Gently lift the thin black front sensor panel cover bracket.

    • Gently pull the front sensor panel cover away from the robot.

  11. cjd2NQHg136ECBQE
    • Use a Phillips screwdriver to remove one 14 mm screw from the battery housing.

    • Use a Phillips #2 screwdriver to remove the eleven deep-set 14 mm screws from the bottom panel.

  12. sLGUIuB1ayejaW24
    sLGUIuB1ayejaW24
    riJC5MdWu3KWCXTM
    • Carefully flip the device to place it with the wheels down.

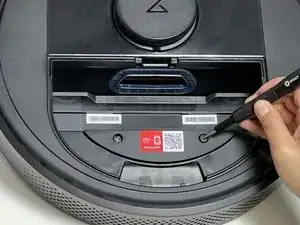
    • Pinch the two dustbin retaining tabs together and pull up on the dustbin to remove it.

  13. kc2XeskQtuXsXU1B
    kc2XeskQtuXsXU1B
    FmHWShDoYDUXThKJ
    • Use a Phillips screwdriver to remove the two 15 mm Phillips screws that secure the front panel cover.

  14. ItpyBrKh255AkBXH
    ItpyBrKh255AkBXH
    WJuRNLn1TVP4mekk
    fCekrKypXUCsHCwM
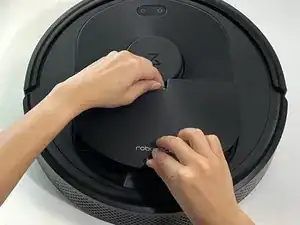
    • Use a spudger to pry up the top case.

    • Lift and remove the top case.

  15. tXkRWomIbSUdOKGo
    tXkRWomIbSUdOKGo
    cjIdmMDBRlbbVQvb
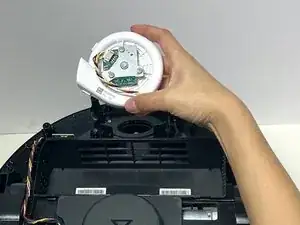
    • Lift the suction motor from its housing at the top of the robot.

  16. XjdxllrqMqnSlqP6
    XjdxllrqMqnSlqP6
    CPTmMSsWYRvFbmWP
    1M1IAVJm6JmiRY6v
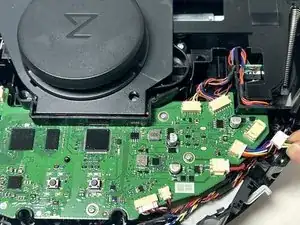
    • Grip the white suction motor connector and pull it directly out of its port.

    • Do not pull on the wires.

Conclusion

To reassemble your device, follow these instructions in reverse order.

Jon Panaro

Member since: 29/01/24

351 Reputation

0 comments