
Introduction
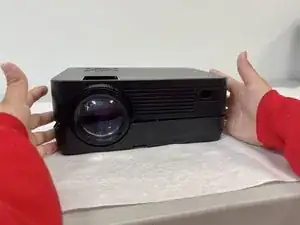
This is a step-by-step guide on how to locate and replace the lamp of the Roconia Q6 projector. The lamp is located in the second layer of the projector, so it requires a bit more work and carefulness to reach and replace.
-
-
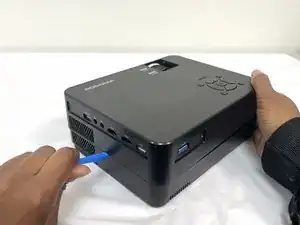
The device is supported by rubber pieces located at the bottom extremities.
-
There are screws beneath the rubber pieces that can be removed. Remove all four 1.1 mm Phillips #1 screws by using the Phillips #0 screwdriver.
-
-
-
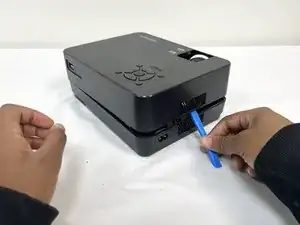
We need to locate the screws which are holding down another plastic covering.
-
Use a Phillips #1 screwdriver to remove each of the highlighted 8.8 mm screws.
-
-
-
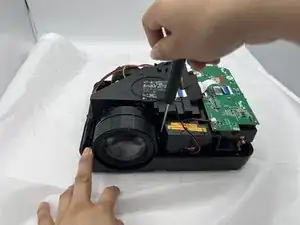
There is another screw holding down the plastic covering and it is located on the motherboard. With the same screwdriver, remove that screw.
-
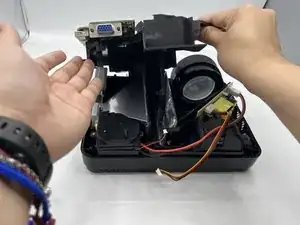
Now carefully pull out the highlighted cables that is connecting to the motherboard that will prevent you from completely removing the plastic cover.
-
-
-
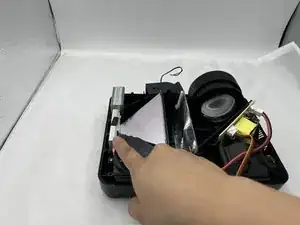
From here you will be able to safely remove the plastic covering and expose a second layer of parts.
-
-
-
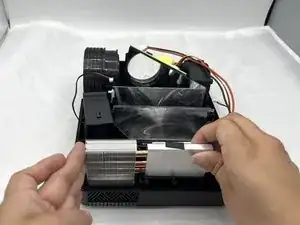
We can now locate the lamp which is being held in place by the mirror part.
-
Carefully remove the mirror, without putting any smudges on the inside from our finger.
-
From there you will be able to remove the lamp and replace.
-


To reassemble your device, follow these instructions in reverse order.
