
Introduction
If your Sonos Roam is having battery issues such as not being able to hold a charge or not charging at all, then use this guide to replace the battery.
The battery is responsible for providing the energy that the speaker uses to function. It can be charged, store the energy, and provide energy when needed.
Before using this guide, make sure your current charger is compatible and you have the right USB cable. Also try rebooting the device.
There are steps that recommend (not require) the use of the iOpener. This will help with carefully removing the adhesive used to keep this device together. Refer to this link on how to properly use the iOpener.
-
-
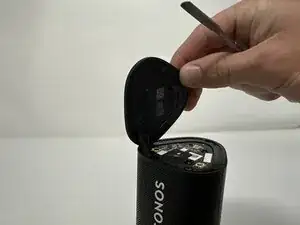
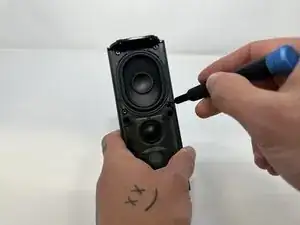
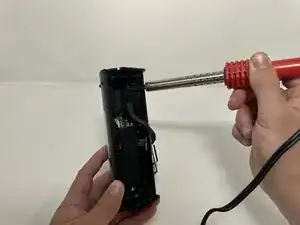
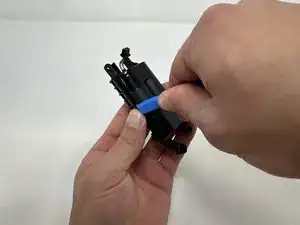
Use the metal spudger to pry the end cap with the buttons.
-
Pry from all sides to loosen the adhesive.
-
-
-
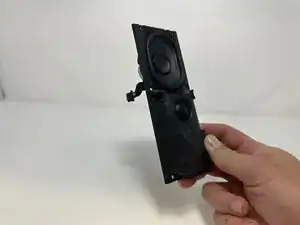
Flip the device so that the Sonos logo is on the top.
-
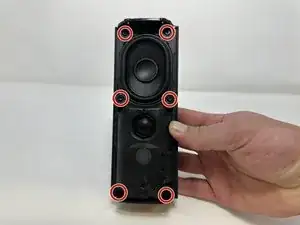
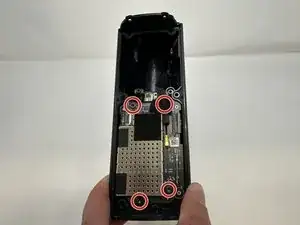
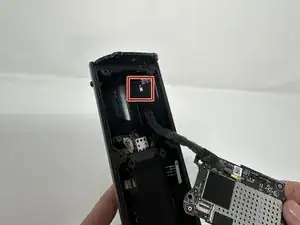
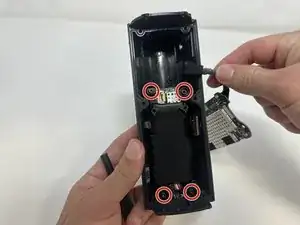
Use the Torx T6 screwdriver to remove the two 6 mm screws.
-
-
-
Flip the device so the Sonos logo is on the top.
-
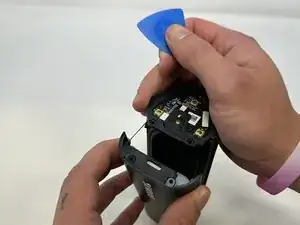
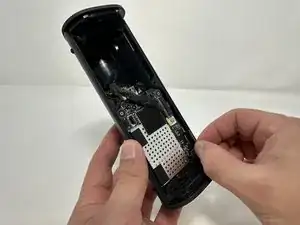
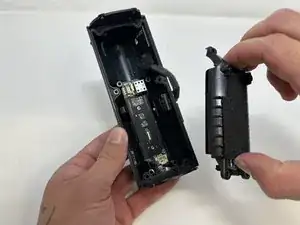
Use the iFixit opening picks to wedge between the split of the grille and the back of the speaker to pry the grille apart.
-
-
-
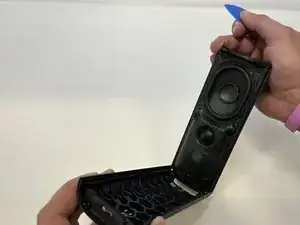
Grab the metal piece sticking out of the outer circuit board.
-
Pull upwards to remove the outer circuit board.
-


To reassemble your device, follow these instructions in reverse order.

4 comments
Great guide. Do you have information on the battery needed? I dont see one available from Sonos, so I presume a 3rd party is required?
mt -
Mit welchem Kleber befestige ich die Abschlusskappen nach Abschluss des Akkutausch am besten wieder?
DocHofer -
Fantastic instructions, saved my roam from being a brick. iOpener is worth every penny! Not a paid advertisement
msdavis4 -
What about IP67 rating? Am I going to lose the water resistance rating if I do not reapply some glue or additional adhesive when reassembling things back?
Askar -