Introduction
This repair guide will help you learn how to locate, remove, and replace the battery for the Sony WH-CH720N. The battery is in the right side of the headphones. This is necessary in the event the headphones stop accepting a charge or refuse to power on despite charging.
DO NOT puncture the battery, as it might explode. Dispose of the battery in the proper receptacle.
-
-
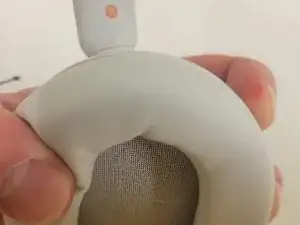
Remove the earmuff.
-
Check introductions to ensure you remove the correct side earmuff for each repair guide!
-
-
-
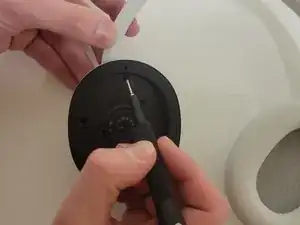
Remove the four 5 mm screws in the right using a Phillips #00 screwdriver.
-
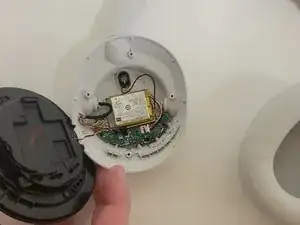
Remove the speaker panel to reveal the battery.
-


Conclusion
To reassemble your device, follow these instructions in reverse order.
