Introduction
This short but in-depth guide will walk you through the process of replacing a displaced mounting plate cap on the Velbon CX690 Tripod. You will need a welding solution, such as JB Weld, in order to complete this project.
Tools
-
-
Grab the quick-release plate with one hand and the tripod body with the other. Then, pull the quick-release plate straight off of the tripod body.
-
-
-
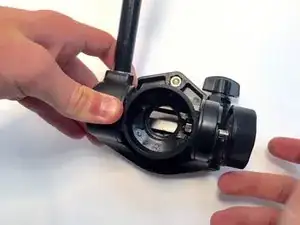
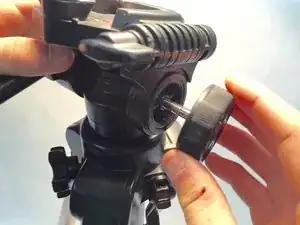
Grab the side-tilt-locking-nut with your dominant hand and grab the pan handle with your other hand. Twist the side-tilt-locking-nut counterclockwise to loosen it, and then pull it off.
-
-
-
Grab the pan handle with your dominant hand and grab the quick-release plate with the other. Twist the pan handle counterclockwise until loose and then pull it off of the quick-release plate.
-
-
-
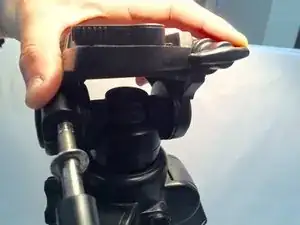
Grab the pan head of the quick-release plate with your dominant hand and the other part of the quick-release plate with your other hand. Then, rotate the pan head clockwise 90 degrees.
-
-
-
Using the more narrow part of the tripod body, place the quick-release plate back onto the tripod body.
-
-
-
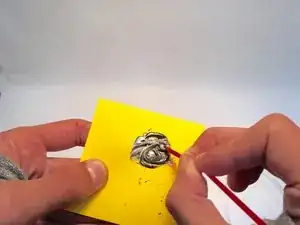
In order to reattach the mounting cap, use JB Weld to make a welding solution.
-
Mix the JB Weld solution in a circular motion for about 30 seconds or until it turns grey.
-
-
-
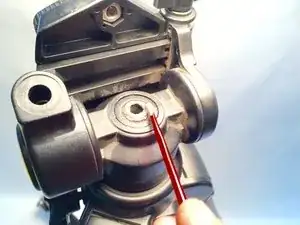
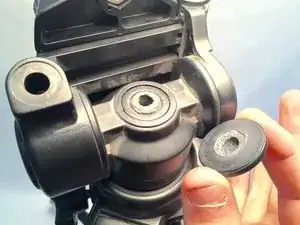
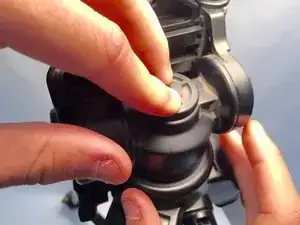
Retrieve the mounting cap and hold it on the top of the center column for 60 seconds or until it feels secure.
-
-
-
Hold the pan handle with your dominant hand. Rotate the mounting plate clockwise, until it gets to the position you would like for use.
-
-
-
Insert the pan handle back into its original hole. Rotate the pan handle clockwise. Make sure the washer is still connected and tighten until it feels tight.
-
-
-
Insert the side-tilt-locking nut into the hole it came out of. Rotate the side-tilt-locking nut clockwise, until it feels tight.
-