Introduction

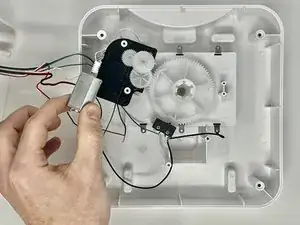
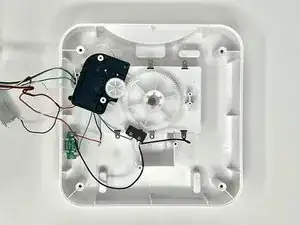
If your Voluas VL001 pet feeder's electric motor is working but your main drive gear isn't turning, you may have a problem with your motor assembly gears. This guide outlines how to replace them. It is a fairly simple process and can be done quickly.

  1. 6B6RKUxYLNPaEP4E
    6B6RKUxYLNPaEP4E
    o6dRDK4T6sy2BTc5
    1ZHMSLwJjsAwTKXM
    • Remove the lid to the storage tank by using the latch and lifting off.

    • Grab the food storage tank on both sides. Depress the tabs that say "Push" on them and lift the tank off.

  2. AvSVHMICmOXkVB1k
    AvSVHMICmOXkVB1k
    CWHyLmixtnvsVxZf
    FJvXS2KaKOL4inGE
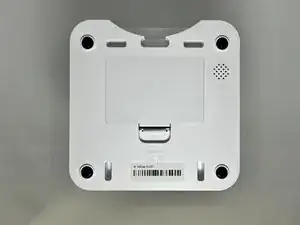
    • Place your pet feeder upside down.

    • Squeeze the lock and remove the battery cover.

    • Remove the three 1.5V D alkaline batteries.

  3. ISFQVvLLZWxXKlt5
    ISFQVvLLZWxXKlt5
    LkZmoKdgn1WUYlRh
    NBofxGGXlLBlxIjJ
    • Insert a metal spudger under the adhesive part of each rubber foot.

    • Pry the foot off.

  4. sbAhlDXVMN5d1H2b
    sbAhlDXVMN5d1H2b
    vGUAfO4UJLXvUZOC
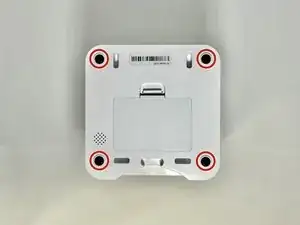
    • Remove four screws from the corners of the device using a Phillips #2 screwdriver.

    • These holes were previously covered by the rubber feet.

    • Using the magnetic tip of the screwdriver, carefully lift the screw out of the hole.

  5. onq4NQJiPF2XsEZR
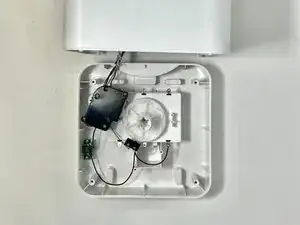
    • Turn the device over so it is oriented right-side up.

    • Lift the top part of the feeder off, exposing the mechanisms that run the feeder.

  6. bbFBIVBjhZW4yIyp
    bbFBIVBjhZW4yIyp
    LUe3WfDWHauqPLNt
    SFYVWPcmNlOYC3mR
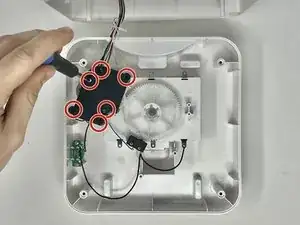
    • Using a Phillips #2 screwdriver, remove the six screws that hold the motor housing on to the device.

  7. St3WppMOCGOthWHW
    • Lift the electric motor from its housing and move it aside.

  8. x5T3jHqrYVMcmFwJ
    x5T3jHqrYVMcmFwJ
    ELT5PMTLDXaLiEGP
    • Use the tweezers to remove the first gear that is placed on top.

  9. nBOHRlN5QEbMiOiR
    nBOHRlN5QEbMiOiR
    csuPFcgJKREZDebL
    • Use the tweezers to gently remove the second gear.

  10. Ga4ANu5IyfiyOikx
    Ga4ANu5IyfiyOikx
    g3ZYCQXUHu5LxIJ1
    • Use the tweezers to gently remove the third gear.

Conclusion

To reassemble your device, follow these instructions in reverse order.

Jade Thomson

Member since: 30/01/24

699 Reputation

0 comments