Introduction
Use this guide to replace the icemaker auger assembly in your Whirlpool WRS315SDHW Refrigerator.
The icemaker auger assembly directs water and ice to the dispenser. If your refrigerator isn't dispensing ice or water properly, your icemaker auger assembly might be broken. The assembly consists of an auger motor and solenoid—you can replace the parts individually if you know which specific part is broken.
Note: Some photos show the doors removed for clarity purposes. Removing them is not required and will not change the procedure.
Tools
-
-
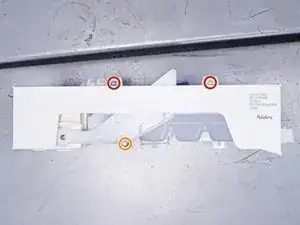
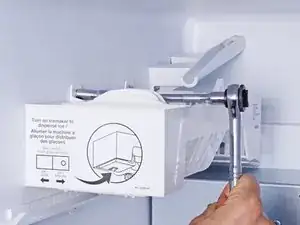
Use a 1/4 inch socket wrench to remove the three screws securing the icemaker assembly (shown with the assembly removed):
-
Two 23.9 mm-long screws
-
One 16.7 mm-long screw
-
-
-
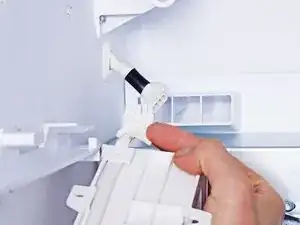
Pull the icemaker assembly toward the right edge of the refrigerator to release it from its slot in the chassis.
-
Let the icemaker assembly hang to access its connector.
-
-
-
Use a 1/4 inch socket wrench to remove the four screws securing the icemaker auger assembly:
-
Two 24.1 mm-long screws
-
Two 16.5 mm-long screws
-
-
-
Pull the icemaker auger assembly off of its slot in the chassis.
-
Let the assembly hang to access its connector.
-
-
-
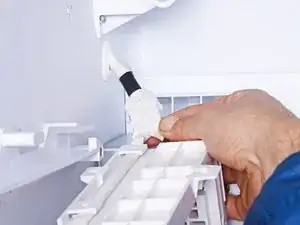
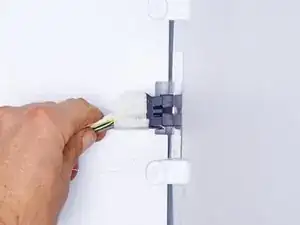
Use a flathead screwdriver, or a similar tool, to compress the connector attached to the icemaker auger assembly.
-
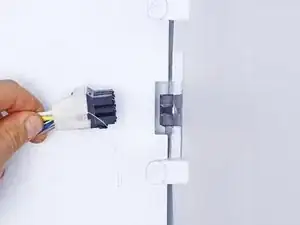
Use your hands to disconnect the assembly connector.
-
To reassemble your device, follow these instructions in reverse order.
Take your e-waste to an R2 or e-Stewards certified recycler.
Repair didn’t go as planned? Ask our Answers community for help.


