Introduction

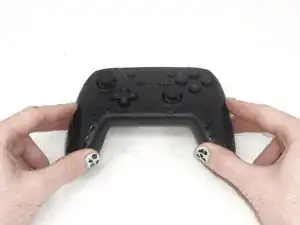
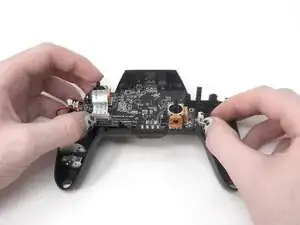
If your YCCTEAM YCC-SW4001 is not powering on or not charging, you can follow this guide to replace its battery. This requires removing most components from the back half of the controller, including the adhesive securing it in place.

The battery is important for providing power to the controller while the controller is not plugged in. Without the battery, your controller wont turn on. Before replacing the battery, check and make sure that whatever problem your having is caused by the status of the battery. This is important because the battery is attached to the controller using an adhesive. If you replace the battery, you should also replace the adhesive, as the battery is smaller than its designated compartment.

  1. ngdvO1ZITkwfT1R2
    • Use a Phillips #1 screwdriver to remove the eight 9.15 mm screws that secure the back case.

  2. 6tTL32ZcQEW1lDXR
    6tTL32ZcQEW1lDXR
    jERbIGopXQnXRfnJ
    LfSm3TgWyVSFIJgt
    • Use an opening pick to pry the back cover off of the controller.

    • This exposes the battery’s housing.

  3. Il2gdVMC5L1wHZsk
    • Use a Phillips #1 screwdriver to remove the three 9.15 mm screws from the back of the controller.

  4. nODc5iMbW3gCCqFM
    nODc5iMbW3gCCqFM
    1A5lNfOsdeR15ACA
    NyVsbNoueFmUlM4Y
    • Delicately lift the front case slightly by pulling it away from the back case.

    • Do not remove the front cover completely; it is still attached to the motherboard by a white ribbon cable.

  5. PtvsNhcDONldYhtf
    PtvsNhcDONldYhtf
    6EenHVPCcqYLui5I
    HX1CwAKd6HkVIqYv
    • Use the tip of the opening pick to flip up the black locking flap of the ZIF connector.

    • The black flap holds the white ribbon cable in place.

  6. usdRBfUwDZKPH6Jo
    usdRBfUwDZKPH6Jo
    NHKOphBIgYJLgLmk
    • Use tweezers to disconnect the white ribbon cable from the ZIF connector.

  7. LMoGY2poIJsYn6qa
    • Remove the front case.

  8. PWwU5KxaZ3bp1Zss
    PWwU5KxaZ3bp1Zss
    2wdBMWH55SQDcHpx
    ObgFfiTT23UxTTsh
    • Remove the two joystick caps from the circuit board by gripping them and pulling them straight upward with moderate force.

  9. LdhLHNsPZMKdOJFs
    LdhLHNsPZMKdOJFs
    hhoBbqRNoJvpLc3D
    3LXLKBIRJQlv1HvQ
    • Use tweezers to grip the white plastic battery connector. Lift it directly it out of its port.

    • Do not pull on the wires.

    • When replacing the battery, press the plug down into the socket until it snaps into place.

  10. 3mlpoCUUywJxraWT
    3mlpoCUUywJxraWT
    mWpFOjNkRpRnBfCM
    eSRu1FOtPGa1XLTy
    • Use a Phillips #0 screwdriver to remove the three 7.5 mm screws that secure the circuit board.

    • Remove the player LEDs from the motherboard.

  11. mfoAMyPSwWiCyVKl
    mfoAMyPSwWiCyVKl
    FPh26wBYtXVPMWGe
    aEcUJAhZWhQKNUA4
    • Gently lift the motherboard up and out of the controller and set it directly between the grips.

    • Take care not to damage the rumble motor connections.

  12. IQX4yokH5VvRUBlF
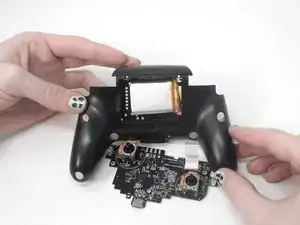
    • Use a spudger to gently lever the battery out of the controller from the back.

    • The battery is attached with adhesive, so gently sever the adhesive around the entirety of the battery as you pry.

    • Removing the battery requires removing the adhesive that secures it; you will need a new adhesive to secure a new battery.

Conclusion

To reassemble your device, follow these instructions in reverse order.
David Adaway

Member since: 16/02/24

531 Reputation

0 comments