Introduction

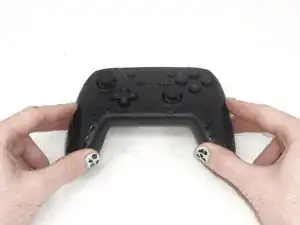
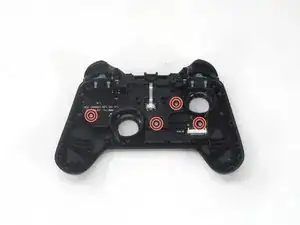
If your YCCTEAM YCC-SW4001 shoulder buttons (L, R, ZL, and ZR buttons) have debris under them, are broken, or are not functioning properly, you can follow this guide to clean or replace them.

The shoulder buttons are used as inputs for the controller and have different functions across different games. This guide requires taking out an extra ZIF connector compared to the other guides. It is not dangerous, but the ZIF connector is very thin and could break with too much force.

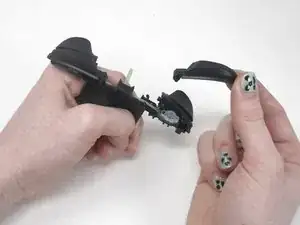
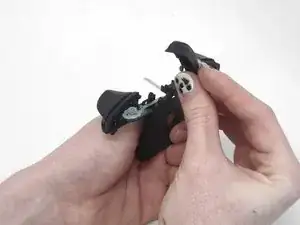
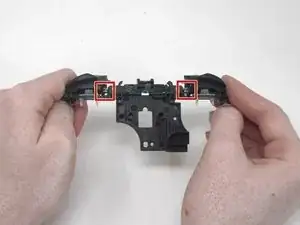
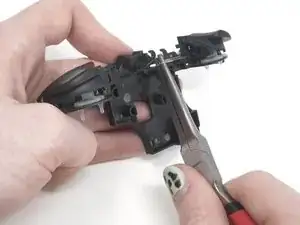
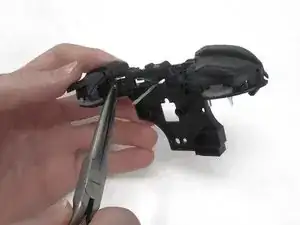
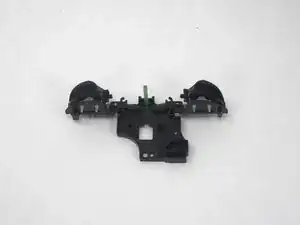
To take out the ZR and ZL buttons, a metal rod needs to be taken out. This is the most difficult part, and while it doesn't require any technical skills, it is difficult to maneuver the rods out from under the buttons.

  1. ngdvO1ZITkwfT1R2
    • Use a Phillips #1 screwdriver to remove the eight 9.15 mm screws that secure the back case.

  2. 6tTL32ZcQEW1lDXR
    6tTL32ZcQEW1lDXR
    jERbIGopXQnXRfnJ
    LfSm3TgWyVSFIJgt
    • Use an opening pick to pry the back cover off of the controller.

    • This exposes the battery’s housing.

  3. Il2gdVMC5L1wHZsk
    • Use a Phillips #1 screwdriver to remove the three 9.15 mm screws from the back of the controller.

  4. nODc5iMbW3gCCqFM
    nODc5iMbW3gCCqFM
    1A5lNfOsdeR15ACA
    NyVsbNoueFmUlM4Y
    • Delicately lift the front case slightly by pulling it away from the back case.

    • Do not remove the front cover completely; it is still attached to the motherboard by a white ribbon cable.

  5. PtvsNhcDONldYhtf
    PtvsNhcDONldYhtf
    6EenHVPCcqYLui5I
    HX1CwAKd6HkVIqYv
    • Use the tip of the opening pick to flip up the black locking flap of the ZIF connector.

    • The black flap holds the white ribbon cable in place.

  6. usdRBfUwDZKPH6Jo
    usdRBfUwDZKPH6Jo
    NHKOphBIgYJLgLmk
    • Use tweezers to disconnect the white ribbon cable from the ZIF connector.

  7. LMoGY2poIJsYn6qa
    • Remove the front case.

  8. fR6UPeGQmCa1Z1Nv
    fR6UPeGQmCa1Z1Nv
    VqSMBNfdjWW6eZnD
    BpUOnhoRRcPhqQNC
    • Isolate the front cover.

    • Flip over the front cover and remove the four 5.77 mm screws from the back of the front cover using the Phillips #1 Screwdriver.

  9. BPpYVZOmqSo1Gyku
    BPpYVZOmqSo1Gyku
    YBnQOg6CrZdGLevQ
    IVdmJUkZcPpSYMN2
    • Flip up the ZIF locking flap.

  10. sjUtKrvtaCdQhJ65
    sjUtKrvtaCdQhJ65
    5wuDYWmiO5NhLPmg
    • Disconnect the cable from the ZIF connector using tweezers or by hand.

  11. rrCbI3T4aMhXiDeV
    rrCbI3T4aMhXiDeV
    1cr2FZCVNZjBLp3A
    • Remove the circuit board and shoulder buttons assembly from the front cover.

  12. hvabTE2yXM5pNarI
    hvabTE2yXM5pNarI
    JmXP3XxjTsPxxDG2
    t1I3sKEGZyvrx2od
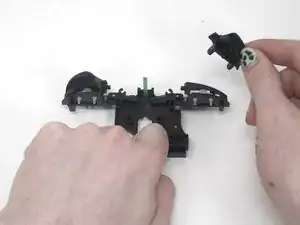
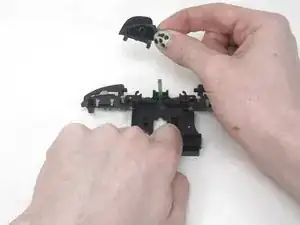
    • Remove the R button by hand.

  13. ZjpFLfbhTgb3QaMv
    ZjpFLfbhTgb3QaMv
    ZmJ6oxv2PSllub3M
    XhS5UbJs3A4kRGti
    • Remove the L button by hand.

    • Flip the shoulder buttons attachment and look at the metal rods.

  14. S5Hlr2MTdMwvJEKm
    S5Hlr2MTdMwvJEKm
    xenLTsL31DNoowDG
    IHWIJO1yVOES3NQa
    • Remove the metal rod under ZL using the small needle nose pliers.

  15. FHJecl4cPXLSyrjR
    FHJecl4cPXLSyrjR
    IXtYwZ1hK4HjOYx2
    nckKs4JRd6ZongVk
    • Remove the metal rod under ZR using the small needle nose pliers.

  16. jYbZerQASVvqkTRO
    jYbZerQASVvqkTRO
    4uFZBOS3e2IgA32C
    FGLLfygPy5MdfEQU
    • Remove the ZL and ZR buttons by hand.

Conclusion

To reassemble your device, follow these instructions in reverse order.

Sam Borwick

Member since: 16/02/24

315 Reputation

0 comments