Introduction
Removing the display requires cutting through the adhesive around the perimeter of the screen. After the adhesive is cut, it cannot be used to re-seal the display in place, so you'll need to apply a new set of adhesive strips.
This guide has been updated! See this guide for the latest procedure.
Tools
-
-
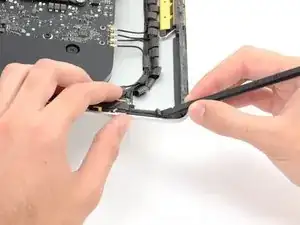
Use a spudger to scrape up the edge of each strip of adhesive, then peel it off with your fingers.
-
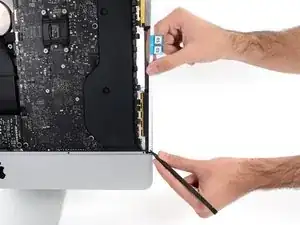
For best results, after all the adhesive is removed, carefully clean the area under the adhesive with 90% (or greater) isopropyl alcohol and a lint-free cloth. Wipe in one direction, not back and forth.
-
This helps prep the surface so that the new adhesive bonds properly (and your display won't fall out).
-
-
-
Start with the strip labeled 03, which goes on the right vertical side of the rear enclosure.
-
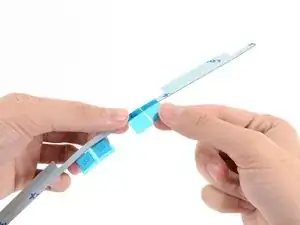
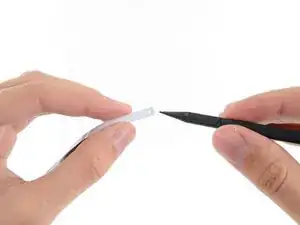
Peel the short piece of backing off the back of the strip.
-
-
-
Insert the tip of a spudger into the hole at the top of the strip from the side that still has a backing on it.
-
-
-
With the spudger still poking through the hole in the adhesive strip, push the spudger tip into the corresponding hole in the frame of the iMac.
-
Using the hole and spudger to anchor the position of the adhesive strip, line the strip up against the right edge, gently pulling up against the spudger to ensure the strip is taut, and stick it onto the frame.
-
-
-
Once you've aligned the bottom half of the adhesive strip, peel the longer piece of backing out from behind the strip.
-
-
-
Align the upper half of the strip with the right edge of the rear enclosure, and stick it down.
-
-
-
Use your finger to smooth the strip labeled 03 along the right edge. Make sure it is neatly aligned with the right side of the frame and that it sits flat.
-
-
-
Work your way around the perimeter of the iMac, adding three more adhesive strips in the same manner.
-
Working counter-clockwise from strip 03, place:
-
Strip 02 on the top right
-
Strip 01 on the top left
-
Strip 05 on the left vertical
-
-
-
Remove the leftmost backing of the strip labeled 04 and align it with the bottom left edge of the rear enclosure, about a 1/4 inch away from the edge of the display glass.
-
Smooth out the strip from the center to ensure a good seal with no bubbles or wrinkles.
-
-
-
Lay the bottom edge of the display glass against the top of the lower bezel. Be sure to align the edges of the display with the edges of the rear case.
-
Old techs put the display on and test the repair before they glue it down.
-
-
-
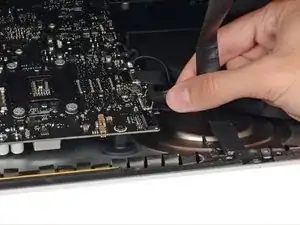
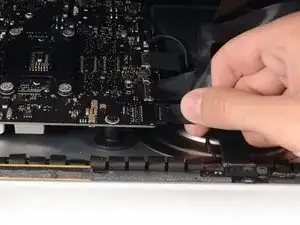
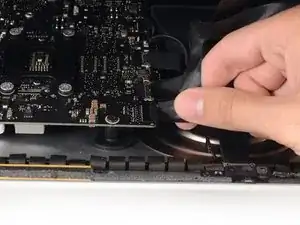
While holding the display up with one hand, use the other hand to gently insert the display data cable connector into its socket on the logic board.
-
Secure the metal retaining bracket on the display data cable downwards towards the logic board.
-
-
-
While pressing the display against its ledge on the lower bezel, carefully lower it down towards the rear enclosure.
-