
Introduction
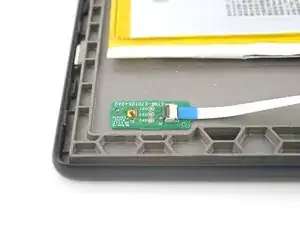
Use this guide to replace the adhesive underneath the power button board and the interconnect cable in your Kobo Libra Colour eReader.
-
-
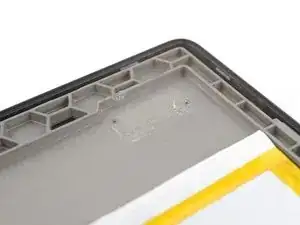
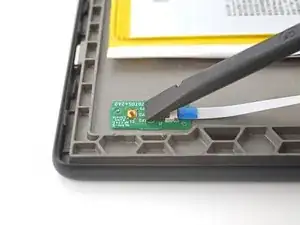
Apply a few drops of isopropyl alcohol (>90%) to the power button board's spot on the frame.
-
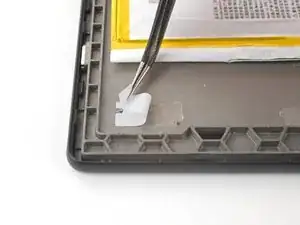
Use a spudger to scrape off the adhesive residue.
-
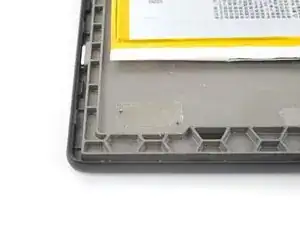
Use a coffee filter or a lint-free cloth to wipe down the spot.
-
-
-
Repeat the same adhesive removal procedure for the remaining adhesive at the interconnect cable's spot on the frame.
-
Wait for the frame to dry completely before continuing.
-
-
-
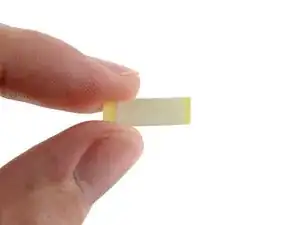
Peel the power button board adhesive strip off its yellow liner to expose the adhesive underneath.
-
-
-
Apply the adhesive strip—sticky side down—to its spot on the frame, making sure it's aligned properly around the alignment pegs.
-
-
-
Use the flat end of a spudger, or your finger, to press down the adhesive strip and adhere it.
-
Peel off the white liner to expose the top adhesive.
-
-
-
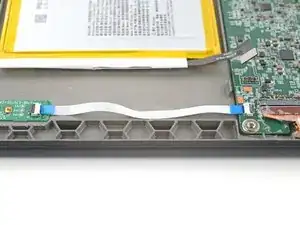
Reconnect the interconnect cable to the power button board.
-
Place the power button board on its spot on the frame, making sure it sits properly on its alignment pegs.
-
Use the flat end of a spudger, or your finger, to press down the power button board and adhere it.
-
-
-
Reconnect the interconnect cable to the motherboard.
-
Use your finger to press the cable onto its adhesive and adhere it to the frame.
-
Return to the original guide and continue reassembly, skipping steps you did for this procedure.
-


Repair didn’t go as planned? Try some basic troubleshooting, or ask our Answers Community for help.
