Introduction

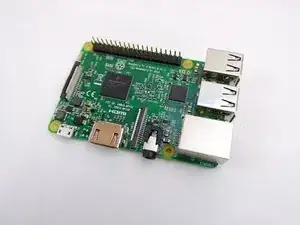
This guide is for the replacement of the Raspberry Pi, or the brain of the computer. No tools are required to complete the following guide.

Your Raspberry Pi needs to be replaced if your Kano Computer Kit won't turn on and you know the battery is being charged properly.

There are no tools needed for this guide except your hands.

  1. YG4qRmK2gkDibjMW
    YG4qRmK2gkDibjMW
    tQUilENSMuqK4LVg
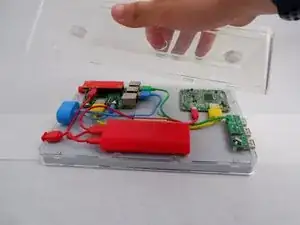
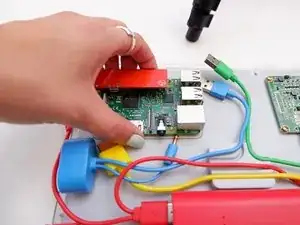
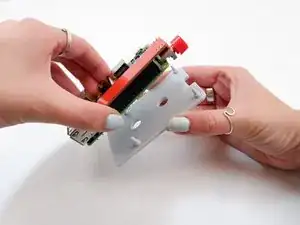
    • Take off the clear backing of the computer and set it aside.

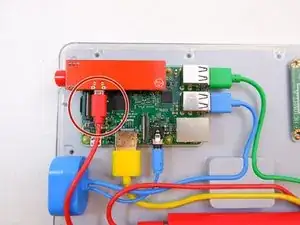
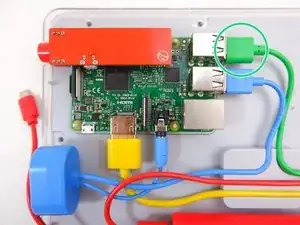
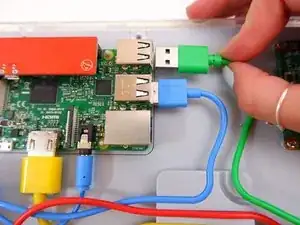
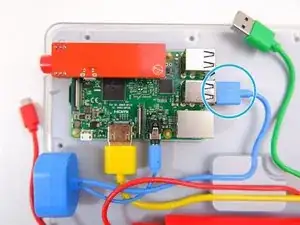
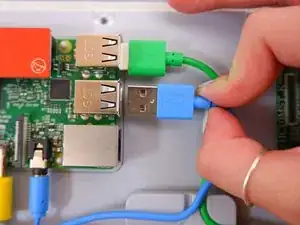
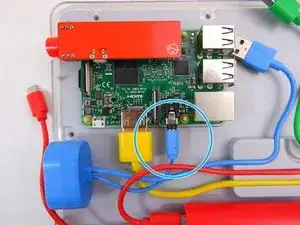
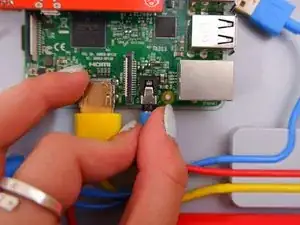
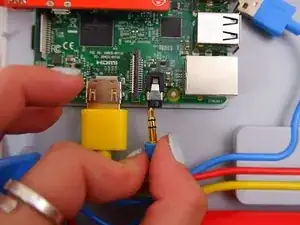
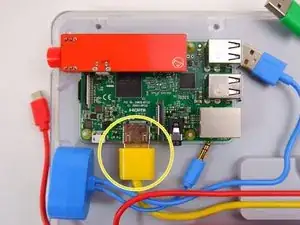
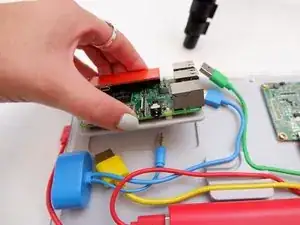
    • The Raspberry Pi is located in the top right corner of the case.

  2. bYxK1YcQrQFrafrS
    bYxK1YcQrQFrafrS
    a2TbDwnpQbb4COaT
    aXDRPDYhCjUDJe3f
    • Unplug the battery from the power button.

  3. muHNfgxAytoEclmR
    muHNfgxAytoEclmR
    WVEZEjaBK1BgIBGT
    K5dCr1XsuMYoC3qw
    • Unplug the green cable

  4. VyTSiKr3cdvFuFYi
    VyTSiKr3cdvFuFYi
    mPAdnZe1fMiBCXqK
    E6bb54FofeDNP4gG
    • Unplug the blue USB cable.

  5. YHCS1Po6FGQ1Lha5
    YHCS1Po6FGQ1Lha5
    kH4nkQXUvE15QWZF
    KAx5m3cjVwWUxgbn
    • Unplug the blue audio jack.

  6. y1ZgxkxI1NZqsPLM
    y1ZgxkxI1NZqsPLM
    SjEHd1TjoRkDODBP
    SnZ6udBTrkTBaOum
    • Unplug the yellow cable.

  7. Khc3aFODuycAFIxE
    Khc3aFODuycAFIxE
    v5wSQEWRaZZDuBZL
    • Pop off the entire board from of the back of the screen.

  8. WPHXyFegHHH5FMEv
    • Remove the backing off the Raspberry Pi.

  9. bQrSryboenkoZ2En
    bQrSryboenkoZ2En
    kY6BFPbqgkiIaH6u
    • Remove the power button from the Raspberry Pi.

Conclusion

To reassemble your device, follow these instructions in reverse order with the new Raspberry Pi.

Julia Sherrill

Member since: 20/09/19

735 Reputation

0 comments