2

I'm starting to use ionic start appName to create ionic project, Ionic provide 7 kinds of template for you,

enter image description here

but there's only 1 template named "conference" that I could download. Others, I will got error "Error: Unable to get local issuer certificate". I've setup proxy already. enter image description here
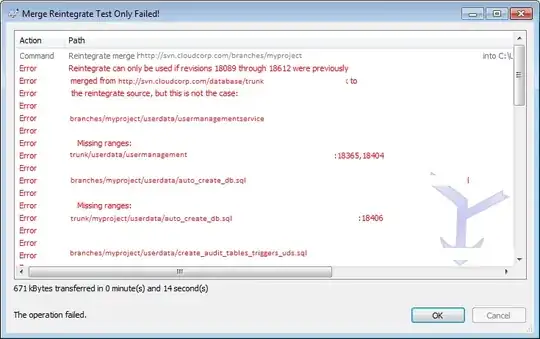
My question is why only conference that I could download, perhaps if all put on same repo that I should not download all, but I still could download one of it.

enter image description here

Does anyone knows?

Here's my environment as below

cli packages: (~\v8.9.1\node_modules)

@ionic/cli-plugin-proxy : 1.5.6
@ionic/cli-utils        : 1.19.0
ionic (Ionic CLI)       : 3.19.0

System:

Node : v8.9.1
npm  : 5.5.1
OS   : Windows 10
JimiOr2
  • 332
  • 1
  • 3
  • 16

2 Answers2

1

set an environment variable NODE_TLS_REJECT_UNAUTHORIZED with value 0 in your windows/linux system.

Rahul Bhooteshwar
  • 1,675
  • 17
  • 31
0

In order to resolve the problem, i had installed ionic starter manually

To do so :

1- Execute ionic start command in verbose mode. Example of blank template

ionic start myApp blank --verbose

you will get the following error :

  superagent GET https://d2ql0qc7j8u4b2.cloudfront.net/angular-official-blank.tar.gz +0ms
\ Downloading and extracting blank starter
Error: unable to get local issuer certificate

2- So now, you need to download the zip mentionned in the error message using an http client, for my case , i used chrome:

https://d2ql0qc7j8u4b2.cloudfront.net/angular-official-blank.tar.gz

3- Once you download the zip, you have the ionic starter project zip. So, to start working on it , you need to extract it :

4- In order to update your projet dependencies , execute:

npm install

5- Launch your ionic app and enjoy ionic framework :)

ionic serve 

enter image description here

Monsif EL AISSOUSSI
  • 2,296
  • 19
  • 17
  • Thanks so much for the step-by-step instructions. I was finally able to get my first ionic app running! I would add one clarification on extraction. You can do this in the windows cmd prompt using: tar -xvzf C:\PATH\TO\FILE\FILE-NAME.tar.gz -C C:\PATH\TO\FOLDER\EXTRACTION – TrueEddie Sep 03 '21 at 16:29