In native iOS, you can use UIPopoverController to achieve your effect. But please notice that this control can only be used in iPad.
Since you are using Xamarin.Forms, we can create a custom renderer in iOS platform to get this.
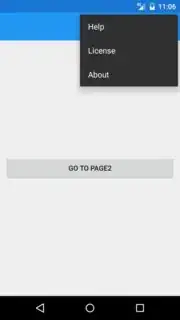
Firstly, create a page renderer to display the UIPopoverController. We can show it from a UIBarButtonItem or a UIView depending on your request. Here I use UIBarButtonItem like:
//I defined the navigateItem in the method ViewWillAppear
public override void ViewWillAppear(bool animated)
{
    base.ViewWillAppear(animated);

    rightItem = new UIBarButtonItem("More", UIBarButtonItemStyle.Plain, (sender, args) =>
    {
        UIPopoverController popView = new UIPopoverController(new ContentViewController());
        popView.PopoverContentSize = new CGSize(200, 300);
        popView.PresentFromBarButtonItem(rightItem, UIPopoverArrowDirection.Any, true);
    });

    NavigationController.TopViewController.NavigationItem.SetRightBarButtonItem(leftItem, true);
}
Secondly, construct the content ViewController in the UIPopoverController(just like the secondary list in android):
public class ContentViewController : UIViewController
{
    public override void ViewDidLoad()
    {
        base.ViewDidLoad();

        UITableView tableView = new UITableView(new CGRect(0, 0, 200, 300));
        tableView.Source = new MyTableViewSource();
        View.AddSubview(tableView);
    }
}

public class MyTableViewSource : UITableViewSource
{
    public override UITableViewCell GetCell(UITableView tableView, NSIndexPath indexPath)
    {
        UITableViewCell cell = tableView.DequeueReusableCell(new NSString("Cell"));
        if (cell == null)
        {
            cell = new UITableViewCell(UITableViewCellStyle.Default, new NSString("Cell"));
        }

        cell.TextLabel.Text = "Item" + indexPath.Row;

        return cell;
    }

    public override nint RowsInSection(UITableView tableview, nint section)
    {
        return 10;
    }
}
At last we can show it on the screen by calling PresentFromBarButtonItem.