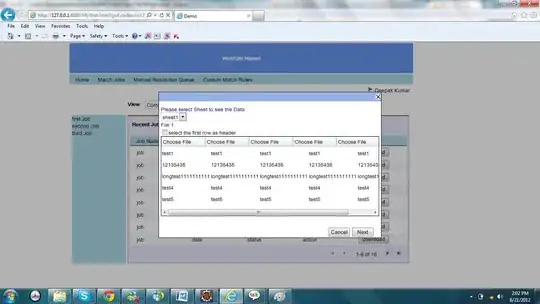
I am trying to have a background that has a similar colour to this image. The colours used here are #2E2E2E , #2C2C2C, and #2D2D2D and they are scrambled together to form the colour of the popup above.
1 Answers
A tiled image would be the easiest way to do this, but you can also do it with a pixel shader.
There are quite a few tutorials around on how to write WPF pixel shaders, Anu Viswan's series is a good place to start. First you'll need to make sure the fxc.exe compiler is installed on your PC, if it isn't already (on my machine it's in C:\Program Files (x86)\Windows Kits\10\bin\10.0.19041.0\x64).
Next you'll need to write the shader itself. First off you'll need to generate a random number for each pixel, StackOverflow user appas has a neat trick showing how to do it using the UV coordinates passed in for each pixel. With that, convert it into an integer and use it to index a lookup table of your colors.
// NoiseEffect.hlsl
#define NUM_COLORS 3

static float4 lut[NUM_COLORS] = {
    float4(1, 0, 0, 1), // red
    float4(0, 1, 0, 1), // green
    float4(0, 0, 1, 1)  // blue
};

float rand(float2 co) {
    return frac(sin(dot(co, float2(12.9898, 78.233))) * 43758.5453);
}

float4 main(float2 uv : TEXCOORD) : COLOR{
    return lut[(int)floor(rand(uv) * NUM_COLORS)];
}
I'm using the primary colors here to make the effect more visible, to use your original values you'll need to convert each component to the 0-1 range:
static float4 lut[NUM_COLORS] = {
    float4(0x2e / 255.0f, 0x2e / 255.0f, 0x2e / 255.0f, 1),
    float4(0x2c / 255.0f, 0x2c / 255.0f, 0x2c / 255.0f, 1),
    float4(0x2d / 255.0f, 0x2d / 255.0f, 0x2d / 255.0f, 1)
};
Next, run fxc to compile your shader into a ps file:
fxc.exe /T ps_2_0 /E main /Fo NoiseEffect.ps NoiseEffect.hlsl
Add that to your project, set its build action to Resource, and create a shader effect class to load it (make sure you change the URI to match your project name):
public class NoiseEffect : ShaderEffect
{
    public static readonly DependencyProperty InputProperty = ShaderEffect.RegisterPixelShaderSamplerProperty("Input", typeof(NoiseEffect), 0);

    public Brush Input
    {

        get => ((Brush)(GetValue(InputProperty)));
        set => SetValue(InputProperty, value);
    }

    public NoiseEffect()
    {
        PixelShader pixelShader = new PixelShader();

        pixelShader.UriSource = new Uri("pack://application:,,,/YourProjectName;component/NoiseEffect.ps", UriKind.Absolute);

        PixelShader = pixelShader;
        UpdateShaderValue(InputProperty);

    }
}
You can then use it as an effect anywhere in your XAML, e.g.:
<Rectangle Width="200" Height="200" Fill="Transparent">
    <Rectangle.Effect>
        <local:NoiseEffect />
    </Rectangle.Effect>
</Rectangle>
Note how I've set the Fill of this rectangle to "Transparent". Doesn't matter what it's set to, you just need to set it to something so that pixels actually get rendered and your pixel shader is run on them. If you leave that property blank then you won't see anything.
Result:
I notice the the "dots" on the image you linked to are larger than 1 pixel; to achieve that effect, simply scale dedicate a GUI object specifically to render the background and scale it up with LayoutTransform or RenderTransform. Alternatively, adjust the uv values being passed into the shader prior to using them to calculate the index.
- 15,731
- 3
- 31
- 58
